Knit the Herringbone Stitch: Flat & In the Round + Video
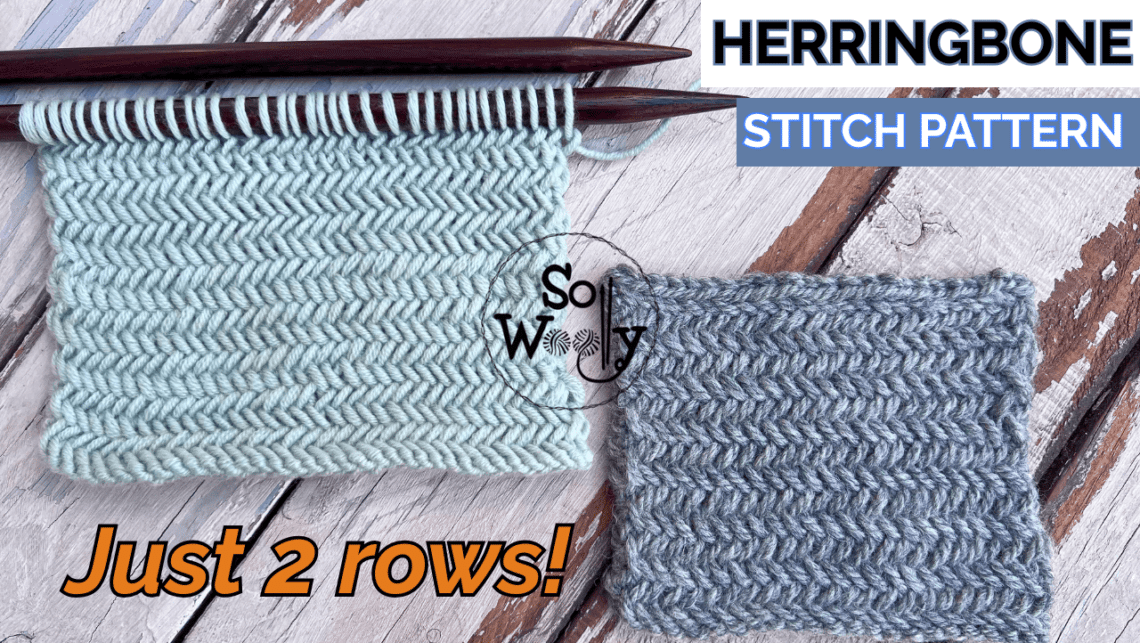
What is the Herringbone Stitch?
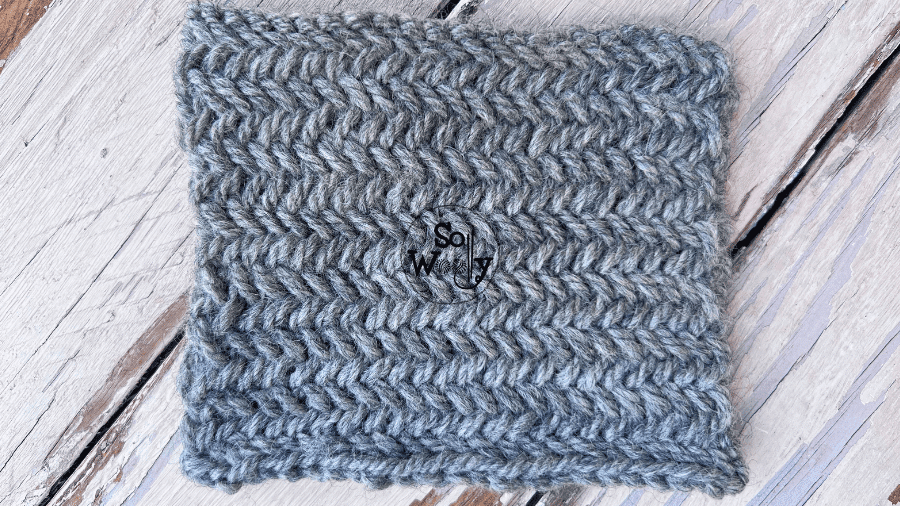
The Herringbone stitch is a pattern that resembles the bones of a fish; a series of v shapes that create weaves.
I’m sure you’ve seen it before, maybe it wasn’t on a handmade knitted object, because it’s typical on tiles, wooden floors and found in suits or jackets’ fabrics.
It’s an eye-catching knitting pattern, soft and chunky, that can’t go unnoticed!
Is the Herringbone Stitch Pattern Difficult?
Although it looks complex, the good new is that it’s easy to knit! If you can knit and purl, you can do it!
It’s a two-row repeat pattern and there are just 2 steps involved: knit two stitches together through the back loop, and purl two stitches together.
In this tutorial, you’ll learn how to make it flat (back and forth, using straight needles), in the round (with circulars) and how to bind or cast off.
Furthermore, I’ll give you some tips so that you’ll be able to master it!
4 Tips For Success When Knitting the Herringbone Stitch
- Work with wool yarn or some of its blends, because it’s elastic, very forgiving, in summary, noble. I made a scarf with hoody years ago, using cotton yarn (you’ll see it in the video below), and although it turned out pretty, I’d use wool if I had to make it again.
- Block your work once it’s finished. Blocking relaxes the fibers, and makes your piece softer, more flexible.
- Choose a larger size needle than the recommended by the manufacturer on the label. I normally double it, otherwise the fabric will be too dense and stiff.
- Use sharp tip needles; they’ll make your work much easier!
Yarn and Needles Requirements
I made two swatches, both using wool yarn (worsted weight, medium or nº 4).
The green one was made with 100% Merino Superwash wool (soft, elastic, non-fluffy) #ad
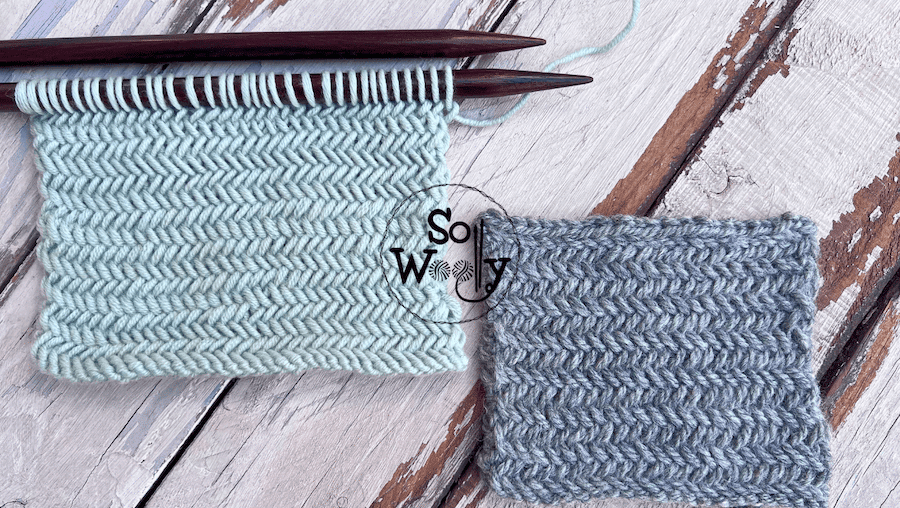
And for the grey one, I used 100% new wool (untreated, elastic, great quality) #ad
Normally, I’d had worked with US 8 (5 mm) needles for both qualities.
However, when knitting the Herringbone stitch, I doubled the size: Both swatches were made using my luxury rosewood needles US 15 (10 mm) (smooth and pointy) #ad
“As an Amazon Associate, I earn from qualifying purchases”.
Abbreviations
CO: Cast on
RS: Right side of the work
Stitches: sts
Stitch: st
K: Knit
P: Purl
k2tog: Knit two stitches together
p2tog: Purl two stitches together
k2togtbl: Knit two stitches together through the back loop
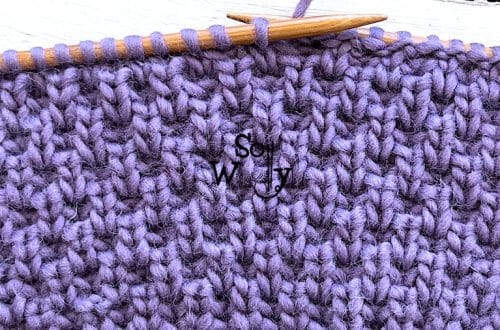
How to Knit the Herringbone Stitch (Flat)
CO an even number of sts.
Row 1 and every odd row (RS): *k2togtbl, drop just the first (from right to left) stitch keeping the second on the left-hand needle*. Repeat from * to *, to last st, K1
Row 2 and every even row: *p2tog, drop just the first (from right to left) one keeping the second on the left-hand needle*. Repeat from * to *, to last st, P1
These two rows create the pattern. Repeat them until the desired length is reached.
How to Knit the Herringbone Stitch (In the Round)
Note that we have to move the marker at the end of every round; otherwise the beginning of the round will move as we go, and that creates a diagonal line that we’d like to avoid.
It’s the same step that we do when knitting diagonal patterns in the round, as shown for example, in the Edelweiss stitch in the round.
CO an even number of sts.
Round 1 (and every odd round)
(RS): *k2tog, drop just the first (from right to left) stitch keeping the second on the left-hand needle*. Repeat from * to *, to last st before the marker.
Pass the last stitch onto the right-hand needle, take off the marker that shows the beginning of the round, place that last stitch back onto the left-hand needle, k2tog (the last stitch and the first stitch of the second round), take the first stitch (from right to left) off the left-hand needle).
Now put the marker back onto the right-hand needle between the first (from left to right) stitch and the second stitch.
In order to do that, place that first stitch onto the left-hand needle, place the marker, and move that stitch back onto the left-hand needle.
Round 2 (and every even round)
Twist the first stitch, *k2togtbl, drop just the first (from right to left) stitch keeping the second on the left-hand needle*. Repeat from * to *, to last st before the marker.
Slide that last stitch onto the right-hand needle, take off the marker, and move that stitch back onto the left-hand needle, k2togtbl, take the first stitch off the left-hand needle, put the marker back onto the right-hand needle as we did in round 1 (between the first and the last stitch from left to right).
These two rounds create the pattern. Please note that after round 2, you’ll need to twist the first stitch until your piece is finished.
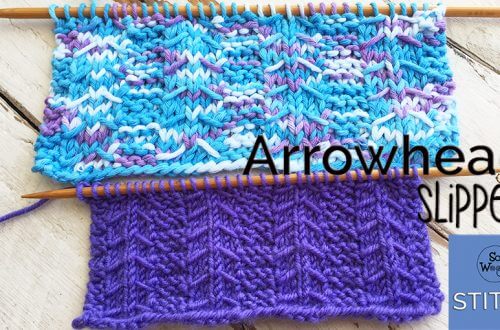
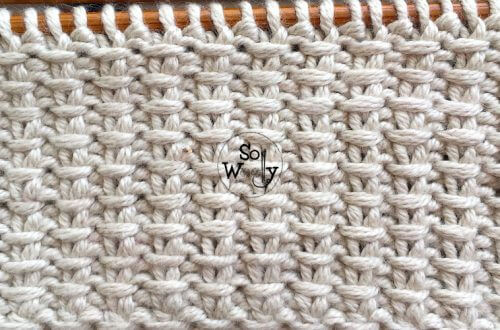
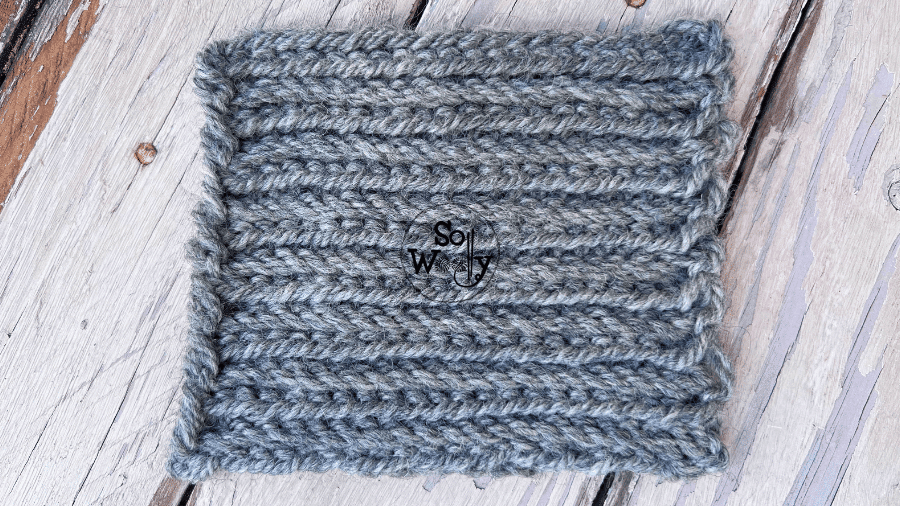
This is the other side of the work:
How to Bind Off the Herringbone Stitch
Facing the RS: k2togtbl, drop the first stitch, *k2togtbl, passo*. Repeat to end.
This is all for today, my little Woolly 🙂
Hugs, and happy knitting!
Carolina – So Woolly