How to knit the Bubble Rib stitch (4 rows only!)
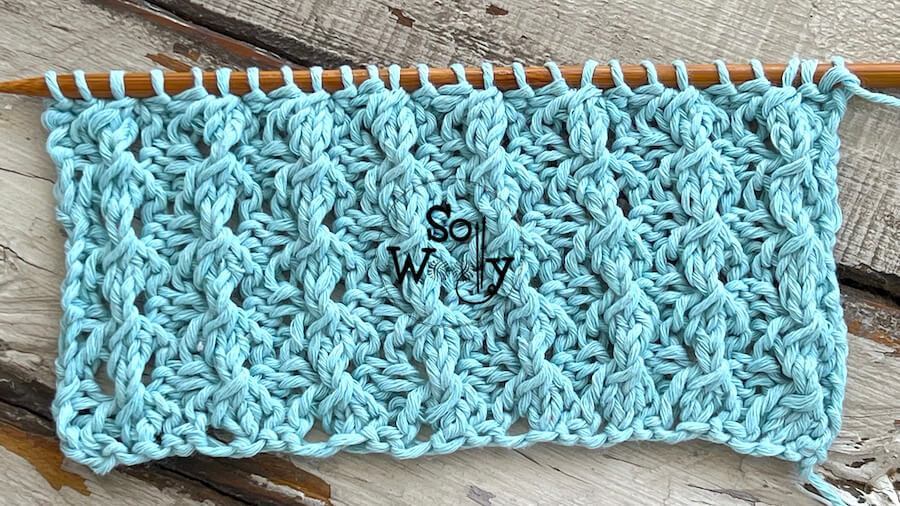
Today, I’m sharing how to knit the Bubblelicious Rib stitch, step by step.
It’s a four-row repeat pattern, easy and fun to knit (because if you can knit and purl, I’m sure you can do it :).
In fact, the other techniques required are the yarn over (before a knit stitch and a purl stitch, which are different, so I’m explaining how to do both of them in the video tutorial).
And how to purl three stitches together.
That’s it!
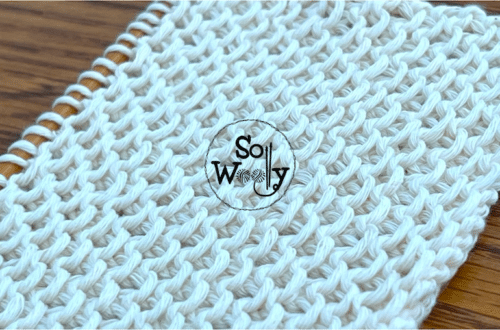
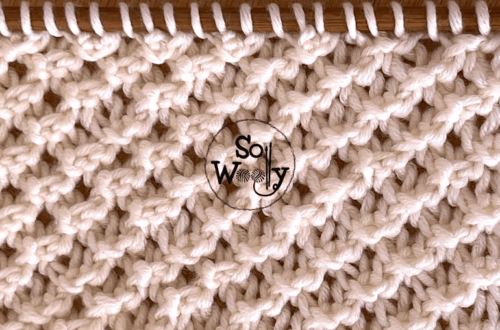
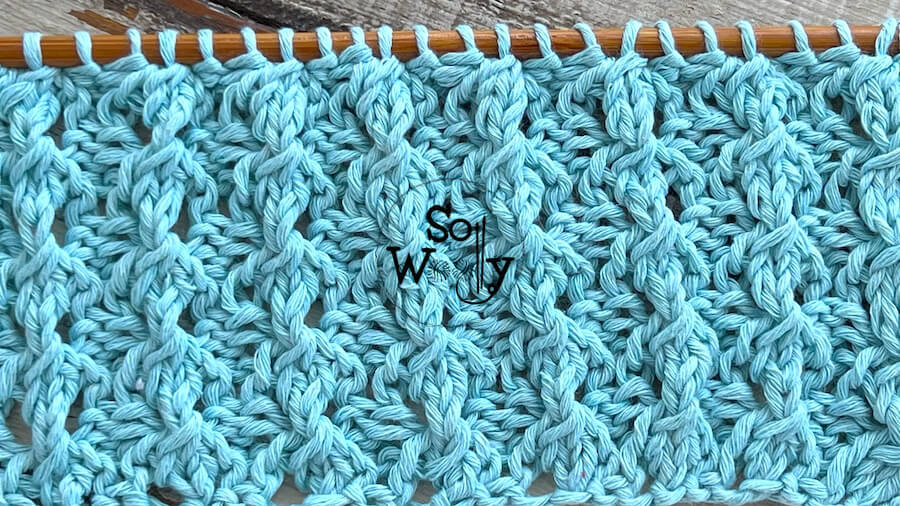
Besides, the Bubble Rib stitch has a lovely texture to it, adding a little more volume to the fabric.
I think it’s the perfect pattern for baby stuff, yet it will work perfectly fine for blankets, scarves, and even hats.
Nevertheless, if your choice is to knit a garment that should stay flat, I’d add a nice edge on the sides.
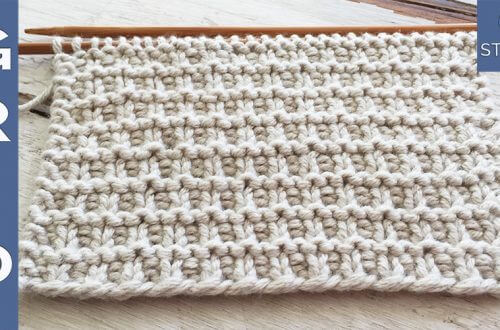
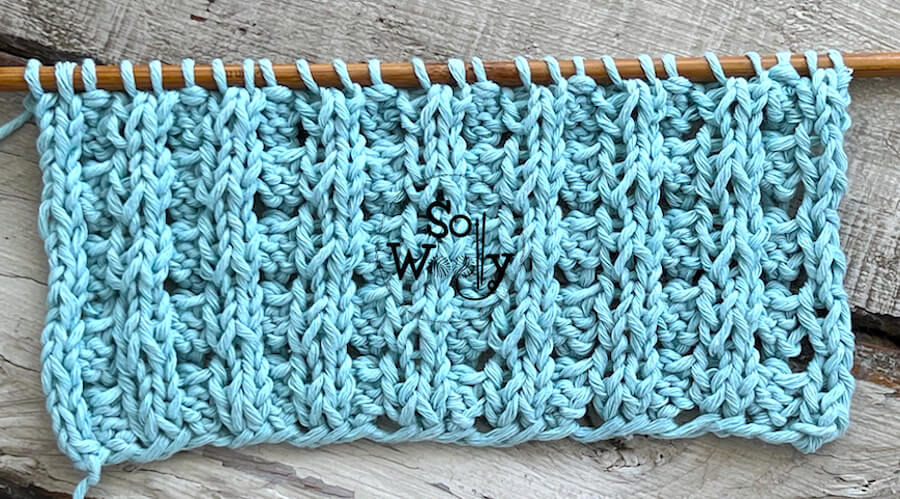
Finally, although it isn’t a reversible pattern per se, the so-called “wrong side” looks more or less like a 2 x 2 Rib, with some eyelets.
Without further ado, grab your needles (if they are nice and pointy, even better) and some yarn, and let’s get bubbly #ad
Abbreviations
CO: Cast on
st: Stitch
RS: Right side
K: Knit
P: Purl
yo: Yarn over
P3tog: Purl three stitches together
WS: Wrong side
BO: Bind off
N.B.:
The odd rows form the right side of the work.
Please note that after finishing row one, the number of stitches changes: We’ll increase 2 stitches per repeat.
After working row four, we’ll get back to the original number of stitches.
The are no edge (selvage) stitches included, if you want to have them, add two stitches to your calculations.
How to knit the Bubble Rib stitch pattern
CO multiples of 3 + 2 st; i.e.: 3 * 4 = 12 + 2 = 14 st.
Row 1 (RS): *P2, yo, K1, yo*. Repeat from * to *, to last 2 st, ending with P2
Row 2: K2, *P3, K2*. Repeat from * to *, to end
Row 3: *P2, K3*. Repeat from * to *, to last 2 st, ending with P2
Row 4: K2, *P3tog, K2*. Repeat from * to *, to end.
These four rows create the pattern. Repeat them until the desired length is reached.
When finished, BO after row 3, working each st as it presents (WS).
This is the other side of the work:
Enjoy the video tutorial:
How to knit the Bubble Rib stitch
Thank you for watching, and don’t forget to spread the love!
Hugs, and happy knitting,
Carolina – So Woolly
PS: Loving the Bubble patterns? Click here to see more!
“As an Amazon Associate, I earn from qualifying purchases.”


