How to Knit the Alternating Dot Stitch + Video
In today’s post I’m sharing how to knit the Alternating Dot stitch, the cousin of another adorable pattern we practiced a while ago: The Dot stitch.
This stitch is part of the Textured Stitch Patterns collection, where you’ll find classic and unique designs.
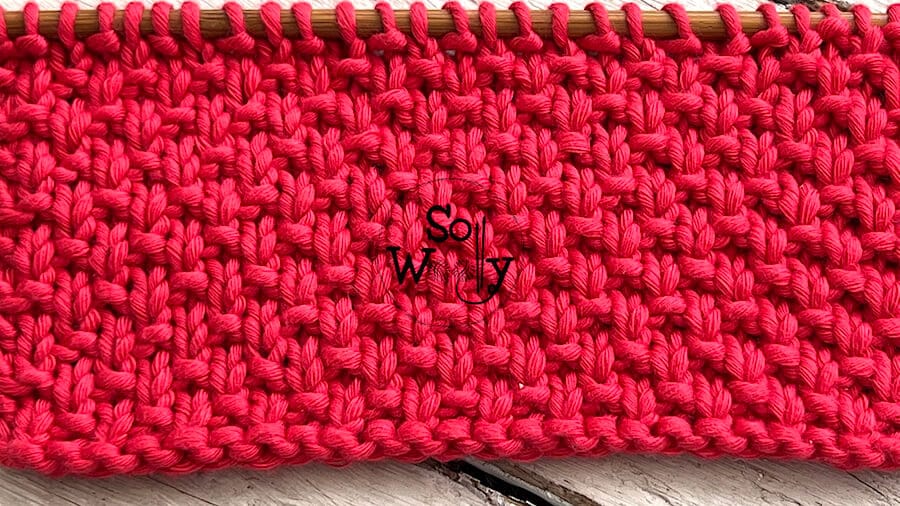
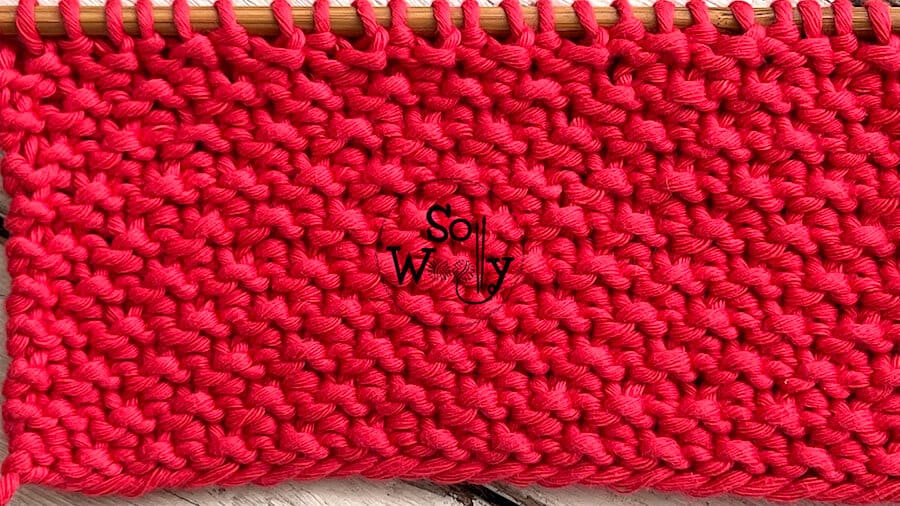
The Alternating Dot stitch creates a fabric with rich texture on both sides; it’s super easy to do, ideal for beginners.
Why?
Well, there are several reasons:
- First of all, it’s a four-row repeat pattern, two of which are plain knit rows… YAY! The other two rows involve a short repeat of knits and purls.
- Secondly, because of the frequency of knit and purl stitches on the even rows, your piece will remain flat. It won’t curl nor bend, so there’s no need of blocking nor adding an edge or border.
- Finally, it’s a great pattern for a wide range of garments and accessories, including scarves, infinite cowls, and blankets, because both sides are charming!
Ok, no more chatting, let’s knit something pretty 🙂
Abbreviations
CO: Cast on
st: Stitch
P: Purl
K: Knit
RS: Right side of the work
BO: Bind off
Using my US 7 / 4.5 mm bamboo needles #ad
“As an Amazon Associate, I earn from qualifying purchases.”
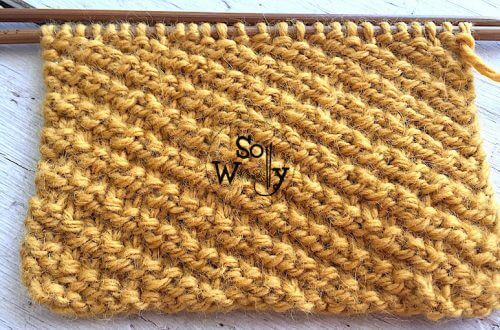
Alternating Dot Knit Stitch
CO an odd number of stitches; i.e.: 15 st (the edge stitches, the first and the last are included, and will be knitted on each row).
1º and 3º rows (RS): K across
2º row: K1 (edge), P1, *K1, P1*. Repeat from * to *, to last st, K1 (edge)
4º row: K1 (edge), K1, *P1, K1*. Repeat from * to *, to last st, K1 (edge)
This four rows create the pattern. Repeat them until the desired length is reached.
When finished BO knitwise after a row 4 (RS).
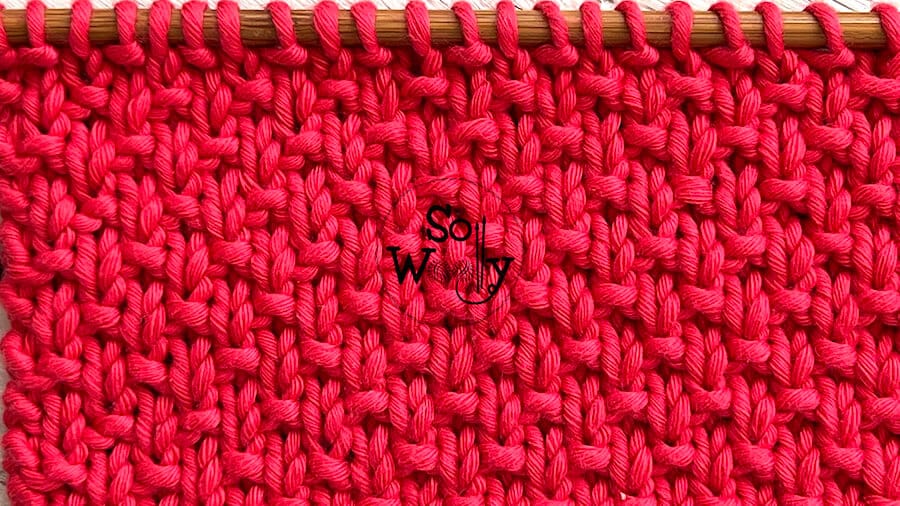
This is the other side of the work:
If you enjoy working with texture, you’ll find more inspiration in the Textured Stitch Patterns collection.
Enjoy the video tutorial:
I hope you like it as much as I do!
Hugs, and happy knitting 🙂
Carolina – So Woolly