How to Knit Halloween Mittens For Beginners (straight needles) + Video
In today’s tutorial, I’m sharing my easiest pattern to knit Halloween mittens for beginners, using straight needles.
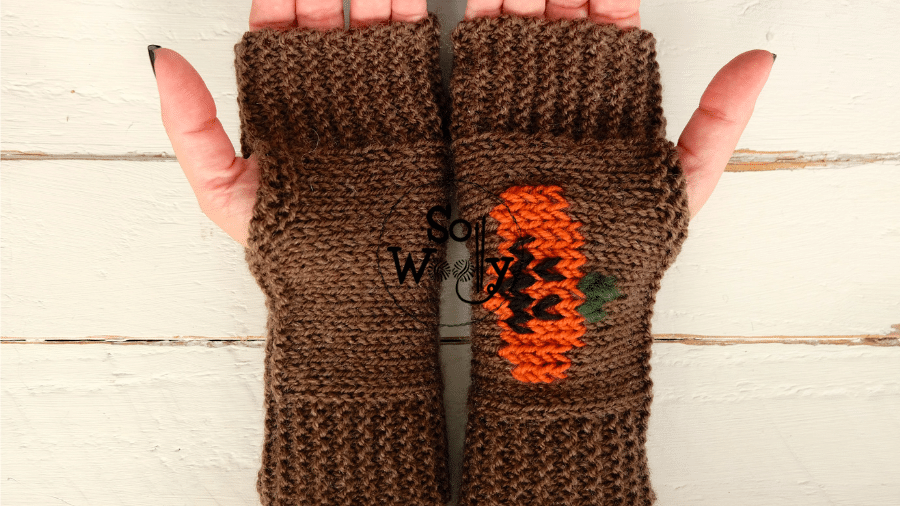
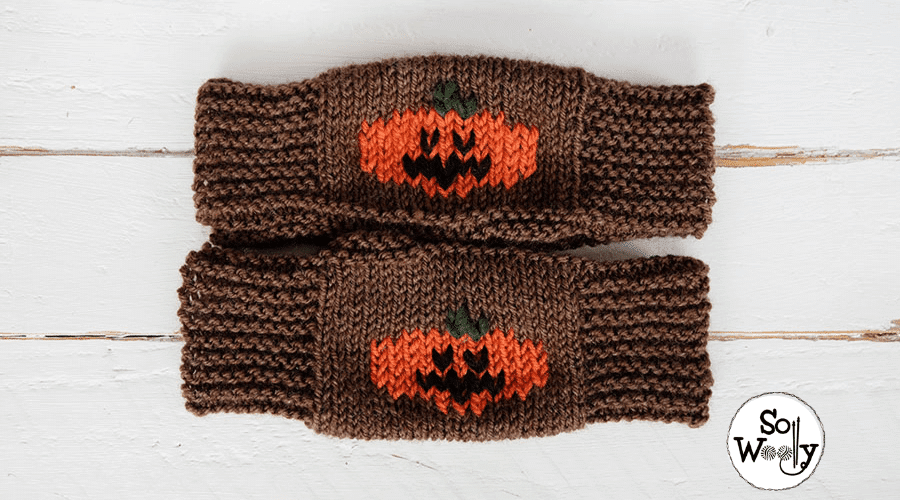
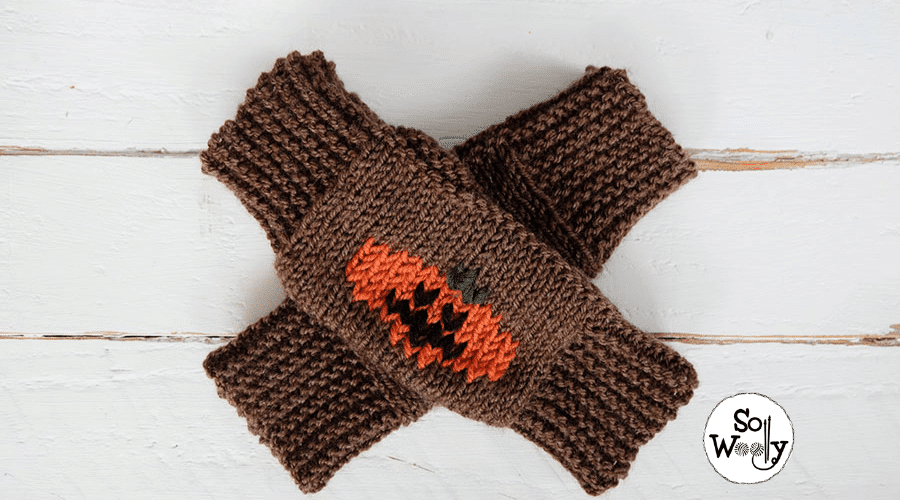
You can decorate them as I did, (for the pumpkin, I applied the Duplicate Stitch technique) or choose a different motif… it’s up to you 😉
The only techniques required are knitting and purling because the design will do the work for you: Due to the combination of knit + purl stitches, you won’t need to increase, nor decrease anything!
In fact, this is a great option when you just want to watch your favorite TV show (currently mine is The Morning Show), and don’t feel like paying extra attention to your knit work…
And you can make them any size you need, I’ll show you how 😉
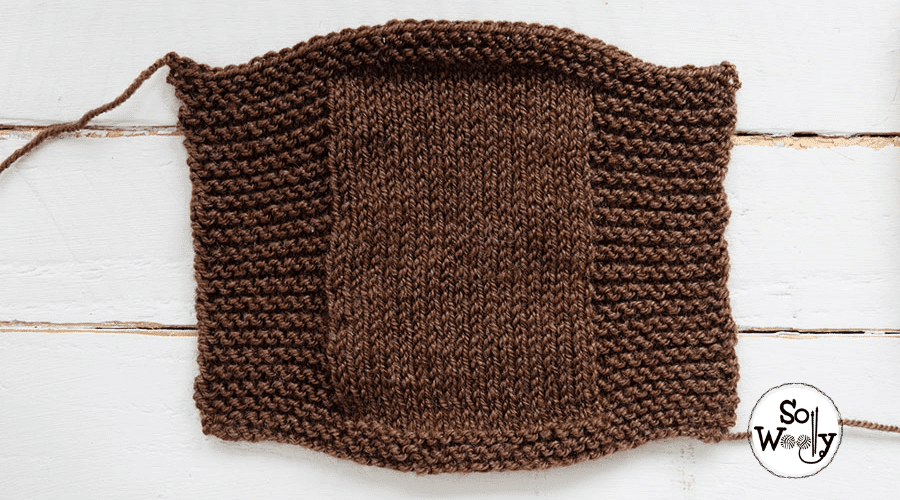
The construction is easy-peasy: We’ll make two rectangles, knitting the edges, upper and lower, in Garter stitch (which works as a ribbing).
As we wear the mittens, those edges will show vertically, where the Garter stitch works as a classic rib, tighter in the wrist and fingers.
The center of the mitten is knitted in Stockinette stitch, a more relaxed fabric, loose enough to fit the palm and the back of your hand.
To prevent the Stockinette stitch part of the mitten from curling, we’ll knit an edge also in Garter stitch at each side of that part.
Measurements of the finished Mittens
Once sewn, the mitten is 9.45 in / 24 cm length (folded in half, covering the back and palm of the hand) x 7.5 in / 19 cm width (from fingers to the arm).
Gauge
A square of 4 x 4 in (10 cm x 10 cm) knitted in Stockinette stitch = 17.5 st and 25 rows
Materials
30 gr. of wool (Medium or worsted weight)
2 x needles US 10 (6 mm)
2 markers
Tapestry needle
Measurement tape or ruler
Scissors
These mittens were knitted using Superwash Merino wool yarn #ad
Using one of my favorite sets of straight needles! #ad
Mittens for Beginners in other sizes (or using a different gauge)
To know how many stitches to cast on, you need to knit a swatch first.
Then, measure the gauge; mine is: 4 in / 10 cm = 17.5 stitches.
Now, measure the distance from the second phalanx, up to 2 in / 5 cm after the wrist.
For me it’s 19 cm / 7.5 in.
Convert those in / cm in stitches, as follows:
If 4 in (10 cm) ———————————— equals 17.5 stitches
Then, 7.5 in (19 cm) ———————————- How many stitches? (or X)
Multiply the number of stitches (17.5) by the width (7.5) , and divide it into 4 (or 10, if you are using cm):
X= 7.5 * 17.5 / 4
X= 37.5 stitches
Rounded up = Cast on 38 stitches
To know how many rows you’ll need, knit until the back of the hand is covered; this will be half of the mitten. Then, knit the same amount of rows, and bind off, following the instructions below 😉
Abbreviations
CO: Cast on
RS: Right side of the work
K: Knit
PM: Place marker
SM: Slip marker
P: Purl
BO: Bind off
N.B.: The odd rows create the right side of the work.
Halloween Mittens for Beginners
CO 38 st
1º to 4º rows: K across (these will form the lateral edge, which will be joined to the other edge when we’ve finished).
5º (RS) row: K10, PM. K18, PM. K10. This is the beginning of the Stockinette “section”.
From here, K across every odd row.
6º and every even row: K10, SM, P18, SM, K10
After 16 rows in Stockinette st (or shortly before), place the mitten on the back of your hand: You’ll know that the half is reached when the upper edge in Garter st covers the fingers (not extremely tight, just a little bit).
In total, there will be 33 rows in Stockinette stitch.
Rows 34 to 36: K across (to form the other Garter stitch edge)
Row 37: BO knitwise.
Repeat the process for the second mitten.
To sew them up, take a look at the video tutorial:
How to knit Mittens for Beginners (using straight needles)
Finally, decorate them with a cute Halloween pumpkin using the duplicate stitch.
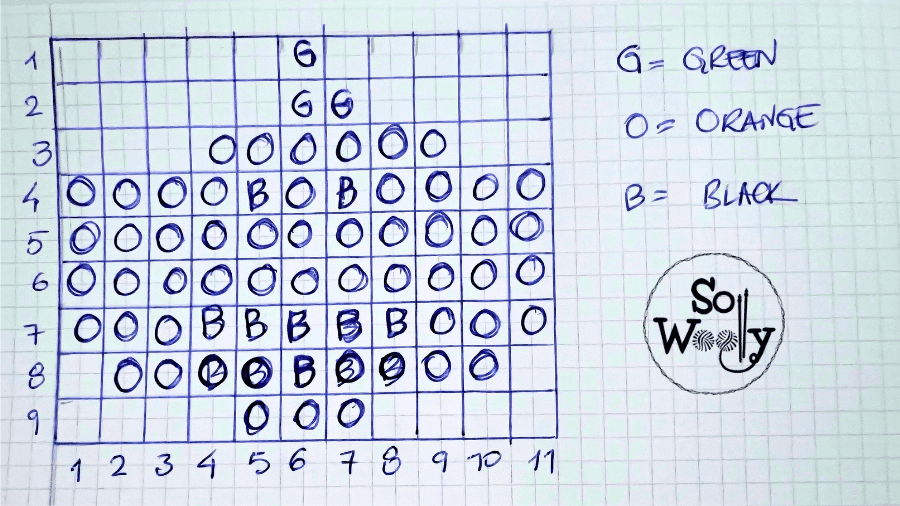
If you’d like to follow this graphic, take into account that you’ll need 11 stitches and 9 rows to get the motif centered.
Also, you’ll need a little bit of yarn in orange for the pumpkin shape, black, for the eyes and the smile, and green for the stem:
I hope you like them!
Hugs and happy knitting 🙂
xoxo
Carolina – So Woolly
PS: Knit this Kitty Cat Hat to complete the look!