How to knit Easy Mini Hats with straight needles (Christmas Decorations)
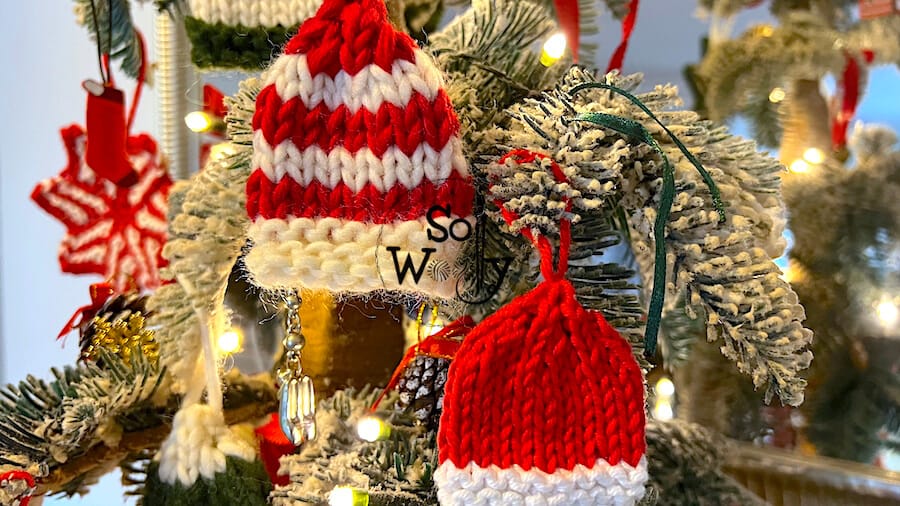
In this tutorial, you’ll learn how to knit more Christmas decorations; we will make easy Mini Hats because the holidays are just around the corner!
For some time now I have been sharing patterns and tutorials for knitting Christmas decorations with you such as the Little Trees, and the Twinkle Stars.
The truth is that a couple of years have passed, and I had forgotten them;), until last week, when I published the Easy Christmas Ball Ornaments.
And luckily enough, many followers asked me to do more!
So today, while there is still time, I want to encourage you to start knitting these beautiful Christmas Mini Hats that you can use as a decoration for the tree, or as a special detail to accompany the gifts.
You can also make sets and give them away, because they are pretty quick to knit.
Why the Mini Hats?
Honestly, one of the reasons I love the Mini Hats in particular (and almost all the other projects we’ve done) is that they’re ideal for using up our stash.
We, knitters, have stashes, yes, and even mustaches, but enough about me ; )
It is an indisputable truth, and what better than using up old yarn to make something so cute, and versatile?
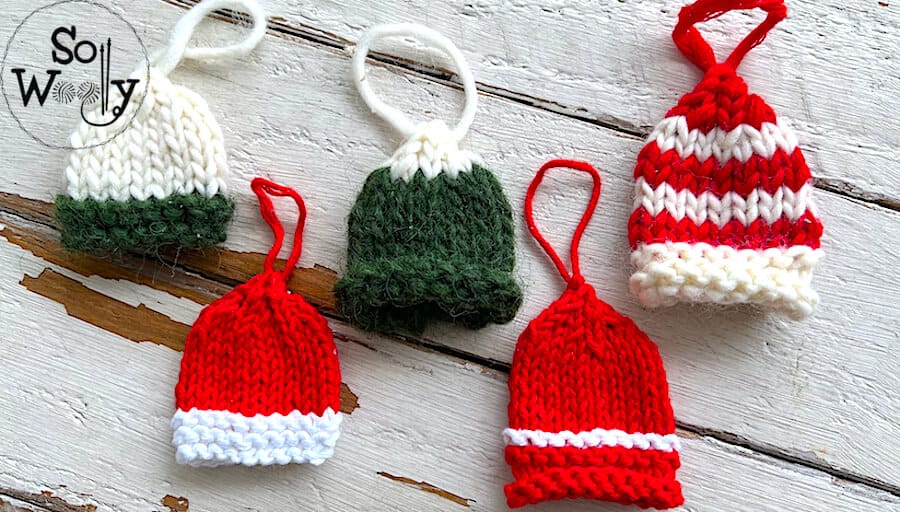
The Mini Hats come in several models, and you can combine the colors as you prefer (or not, you can knit many but using only one color in each one).
It’s up to you 😉
Finally, it is a very flexible project: you can use whatever needles you have on hand, and whatever fiber is available (wool, cotton, Alpaca, bamboo, etc.).
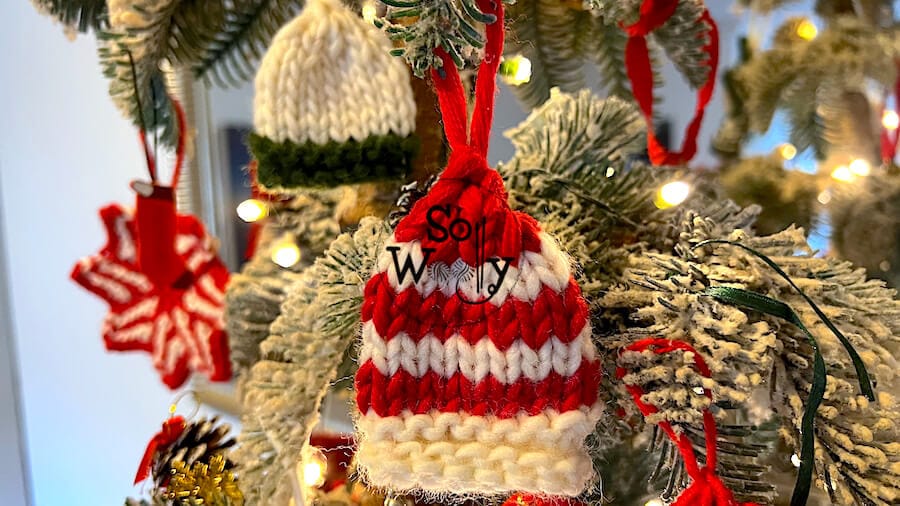
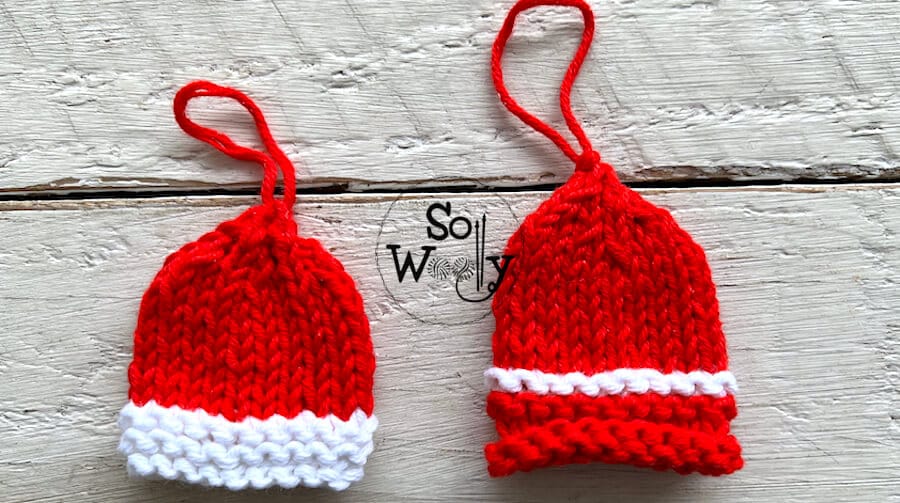
I’ve created two types of Mini Hats: One made out of chunky wool yarn and bigger needles; the other, made out of cotton yarn and smaller needles.
So without further ado, grab your needles, take a look at your stash, think about the colors, and let’s knit together!
Materials for the Mini Hats
For the chunky yarn Mini Hats:
US 10.5 (6.5 mm) straight knitting needles #ad
6 gr. of chunky wool yarn
For the thinner yarn Mini Hats:
US 7 (4.5 mm) straight knitting needles
5 gr. of worsted-weight cotton yarn #ad
Scissors, crochet hook (only if you have it), and tapestry needle #ad
Abbreviations
CO: Cast on
st: Stitch
K: Knit
P: Purl
CA: Color “A”
CB: Color “B”
k2tog: Knit two stitches together
RS: Right side of the work
WS: Wrong side of the work
N.B.:
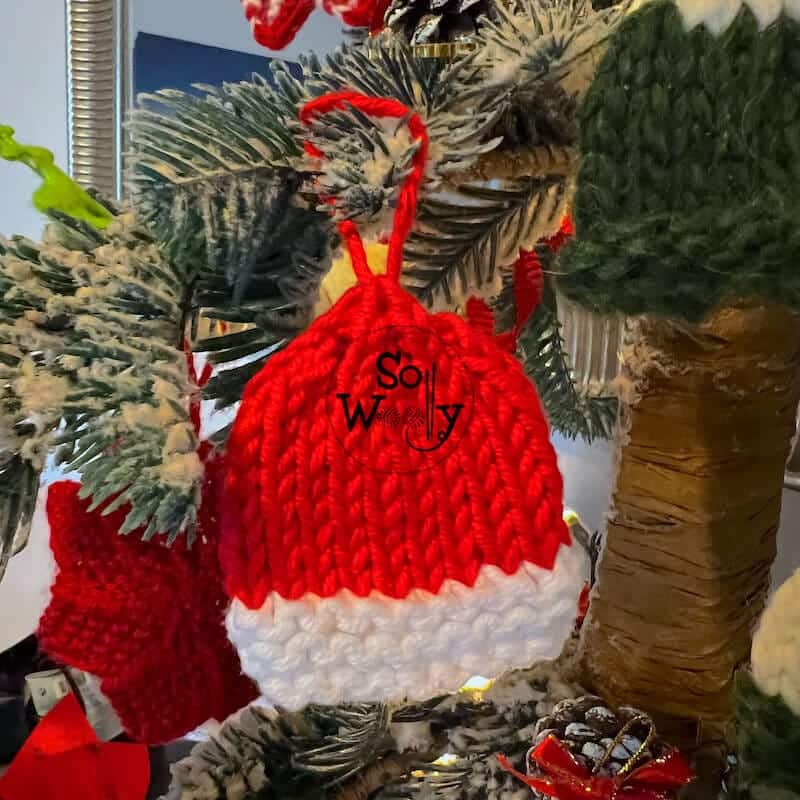
The even rows form the right side of the work.
If you don’t want the model with the curly edge, just work the first 5 rows in Garter stitch.
How to knit Mini Hats (Christmas Decorations)
For the chunky ones (made out of wool yarn):
With CA, CO 16 st.
For the thinner ones (made out of cotton yarn):
With CA, CO 20 st.
The rest of the instructions remain the same for both types.
How to make the curly edge
Work 4 rows in Stockinette stitch, as follows:
Rows 1 and 3 (WS): P across
Rows 2 and 4: K across
Row 5: K across
Rows 6, 8, 10, and 12: With CB, K across
Rows 7, 9, 11, and 13: With CA, P across
Decrease Section (to form the crown of the hat)
Row 14 (with CB): *K2, k2tog*. Repeat from * to *, to end
Row 15: *K1, k2tog*. Repeat from * to *, to end
Row 16: *k2tog*. Repeat from * to *, to end (4 st remain)
Row 17: P across
How to finish the Mini Hat
Firstly, cut the yarn leaving an 8 in (20 cm) tail, (or enough to sew up the hat, and leave a loop to hang it on the Christmas tree).
Secondly, thread the tapestry needle and pass it through the 4 st, make the loop, and close it to secure it.
Then, join both sides and weave in the ends.
And your Mini Hat is finished!
Enjoy the video tutorial:
How to knit the Christmas Mini Hat
I hope you like them and don’t forget to share the love 😉
Hugs, and happy knitting.
Carolina – So Woolly
PS: Searching for more Christmas ornaments? Click here!
“As an Amazon Associate, I earn income from qualifying purchases that meet the applicable requirements.”


