How to Knit a Vintage Knit and Purl Stitch + video
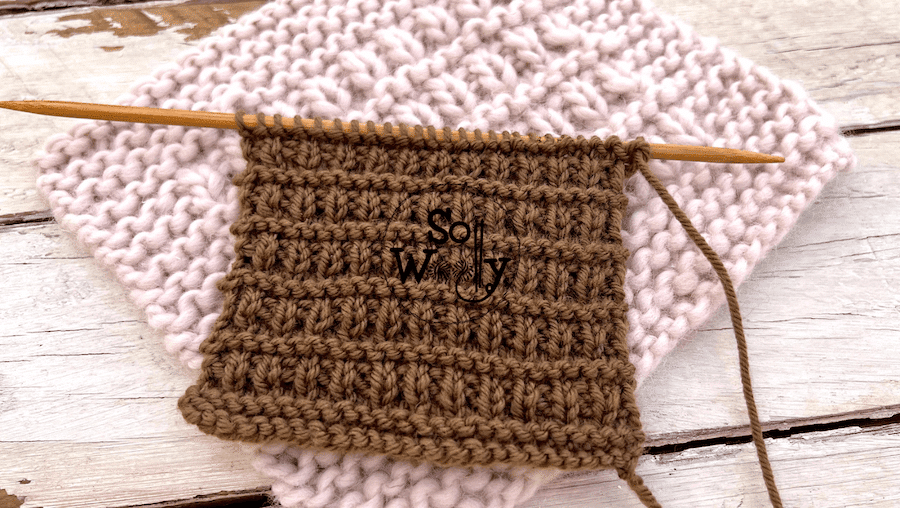
In this tutorial, I’m sharing how to knit a vintage knit and purl stitch, pretty easy to knit, ideal for beginners.
I’m sure that if the only techniques you know are knitting and purling, you can do it!
By the way, the stitch pattern was sent to me by one of my followers from Canada (thank you!). It reminds me of the infamous Hurdle Stitch we practiced last Christmas.
It’s a six-row repeat pattern, it looks good also on the wrong side, and doesn’t curl…
Exactly what my doctor advised me 🙂
That’s why this vintage stitch is perfect for a wide range of projects, not only for blankets, scarves, dishcloths, but also for sweaters, hats, and cardigans.
Moreover, it’s great for socks!
The repeat is short (2 steps only), so it’ll be super easy to increase or decrease in pattern (plus I love the texture!)
I made this swatch with Superwash Wool yarn (worsted weight) #ad

Using one of my favorite dpn bamboo needles (US 7 or 4.5 mm) #ad
“As an Amazon Associate, I earn from qualifying purchases.”
Abbreviations
CO: Cast on
st: Stitch
RS: Right side of the work
K: Knit
P: Purl
BO: Bind off
WS: Wrong side of the work
N.B:
The odd rows form the right side of the work.
There are no selvage (edge) stitches (the first and the last) included.
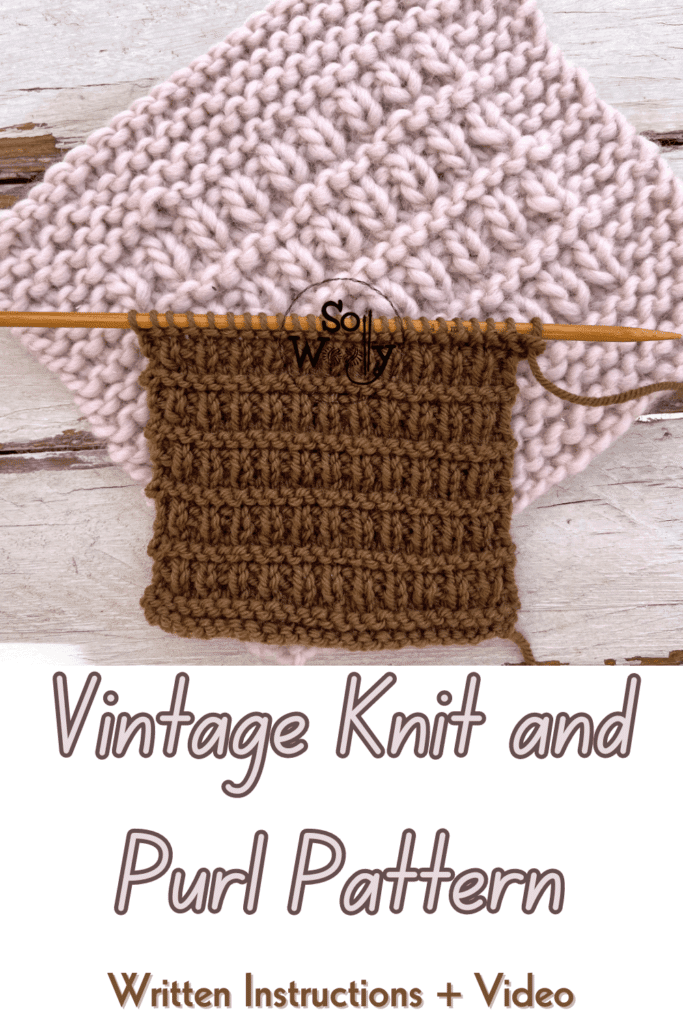
Vintage Knit and Purl Stitch Pattern
CO an odd number of stitches.
1º, 2º and 3º rows (RS): K across
4º row: P across
5º row: *K1, P1*. Repeat from * to *, to last st, K1
6º row: *P1, K1*. Repeat from * to *, to last st, P1.
These six rows create the pattern. Repeat them until the desired length is reached.
When finished, BO knitwise, after row 2 (RS).
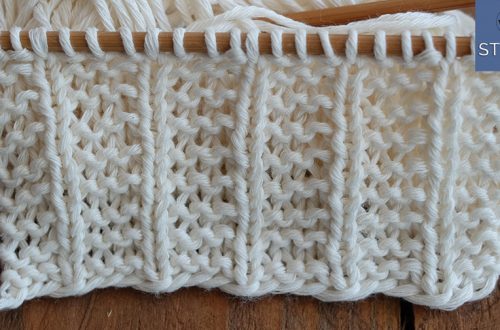
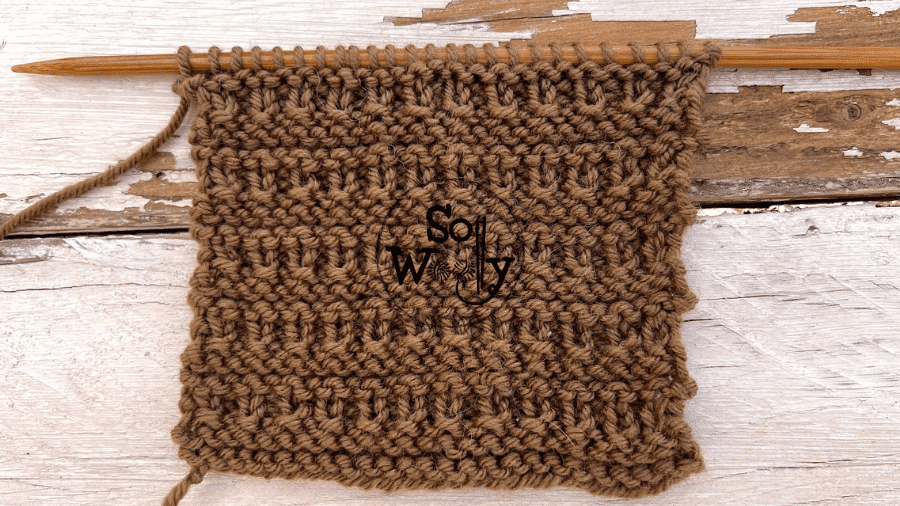
This is the other side of the work:
Enjoy the video tutorial:
Vintage Knit Stitch Pattern step by step
Thank you for watching, and don’t forget to share the love <3
Hugs, and happy knitting,
Carolina – So Woolly
PS: Loving the knit and purl stitches that don’t curl? Take a look at this one 😉


