How to Knit a No-Purling Rib Stitch + Video (1 row!)
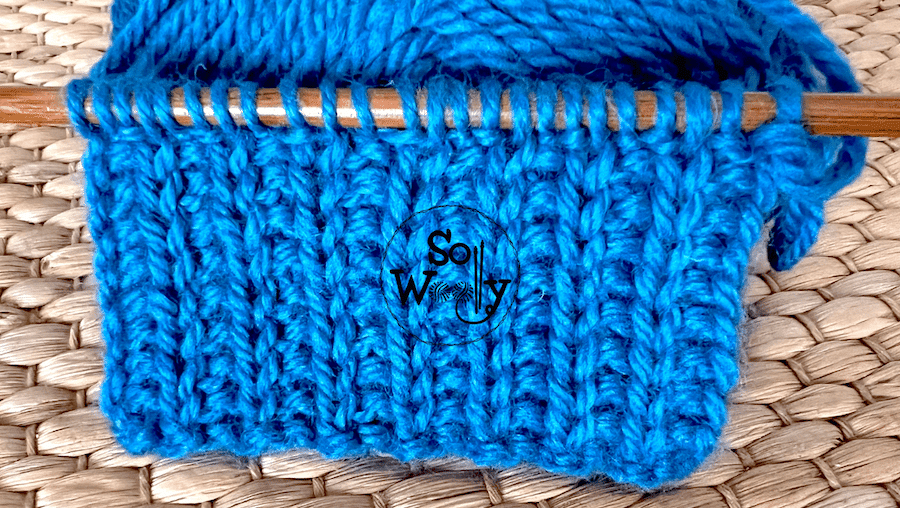
Today, you’ll learn how to knit a No-Purling Rib stitch, in 3 simple steps…
It’s a one-row repeat pattern, and it has a lot of advantages to it:
First of all, it’s super easy to knit and memorize: You’ll keep repeating the same 3 steps throughout the work.
Second, it’s reversible.
Yep, it’s identical on both sides, so although it’s not as stretchy as the classic 2 x2 Rib, it could be a substitute for sweaters and cardigans, for example.
Third, no matter what you do, it doesn’t curl.
Yay! It’ stays flat, so it’s one of the best options for scarves, blankets, placemats, infinite cowls…
Plus any other garment that shouldn’t curl or bend 😉
Last but not least, there’s no need to purl!
In fact, the only techniques required are the knit stitch and a slipped stitch. Easy-peasy!
Having said that, grab your needles, the fiber of your preference, and let’s get busy 🙂
I made this swatch out of 100% wool yarn (worsted weight, number 4, or medium) #ad
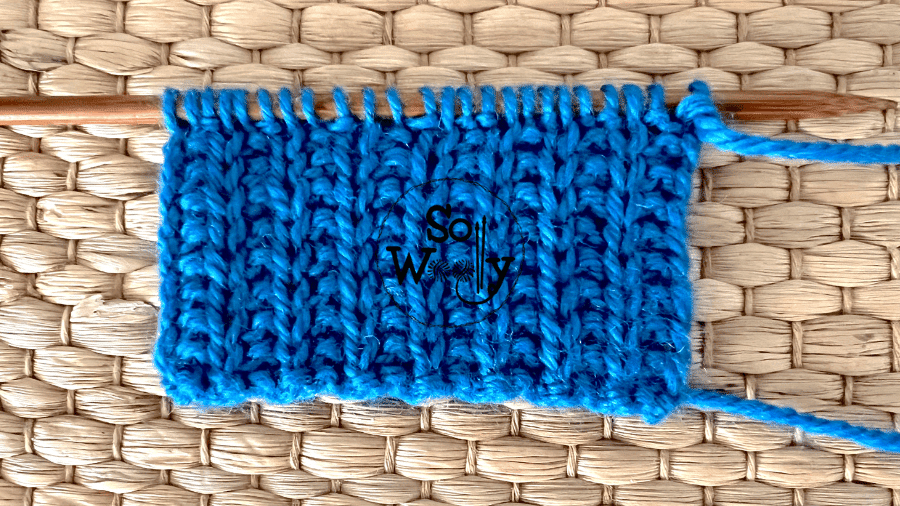
With one of my favorite bamboo dpn’s (US 8 / 5 mm) #ad
Abbreviations
CO: Cast on
st: Stitch
RS: Right side of the work
K: Knit
sl1: Slip one stitch purlwise (pass the stitch onto the right-hand needle as if to purl)
BO: Bind off
WS: Wrong side of the work
Notes Before Starting:
We’ll start with a setup row, or row “0”. It will be made just once (doesn’t form part of the pattern repeat).
Although the difference between the setup row and row 1 is minimal (one starts with K1; the other with sl1), you need to knit the setup row.
Otherwise, the pattern will come out differently 😉
Finally, always slip the stitches purlwise.
No-Purling Rib Knitting Pattern
CO multiples of 3; for example 3 * 4 = 12 st.
Setup Row: K1, *K2, sl1*. Repeat from * to *, to last 2 st, ending with K2
Row 1 (RS): *sl1, K2*. Rep from * to *, to end.
This last row creates the pattern (repeat only row 1 until the desired length is reached).
When finished, BO working each st as it presents after (no matter if it’s the RS or the WS).
This is the other side of the work:
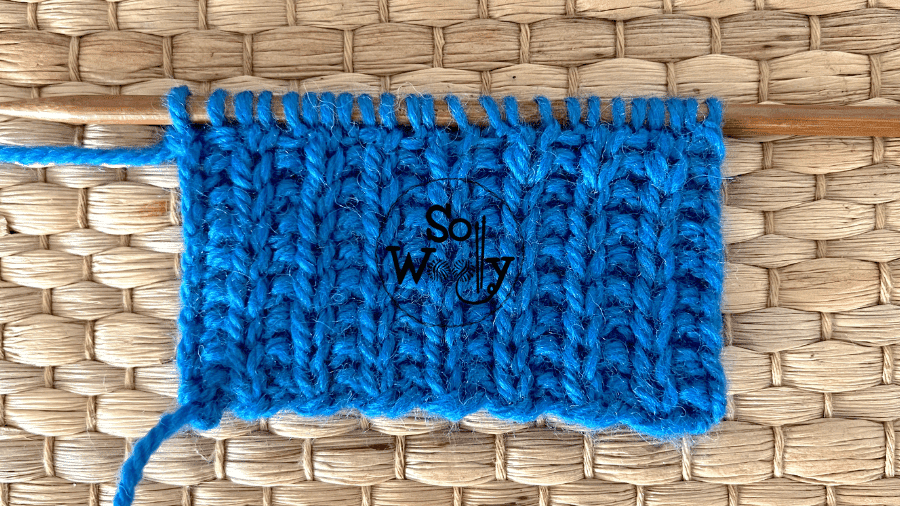
Enjoy the video tutorial:
How to Knit a No-Purling Rib Stitch
Thank you for watching, and remember: Sharing is caring 😉
A big hug, and happy knitting!
Carolina – So Woolly
PS: Looking for another No-Purling Rib Stitch? Click here!


