How to Knit the Slip Stitch Honeycomb (free + video)
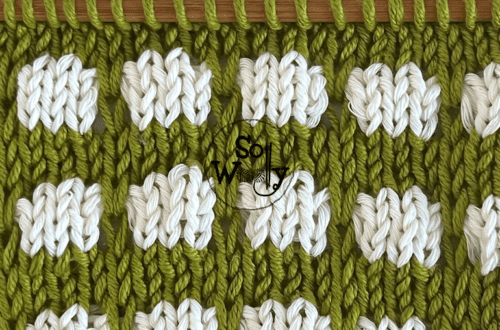
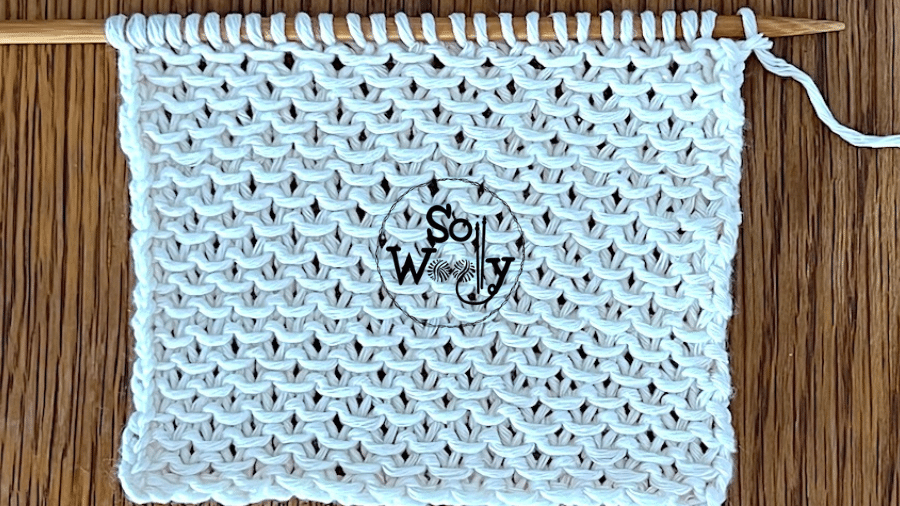
Today, I’m sharing how to knit the gorgeous Slip Stitch Honeycomb Pattern.
It has a cute texture to it, which makes it perfect for baby/adult garments, such as blankets, sweaters, hats, socks, etc.
Furthermore, it’s a four-row repeat pattern (two of which are plain purl rows), fun to knit and yet easy-peasy!
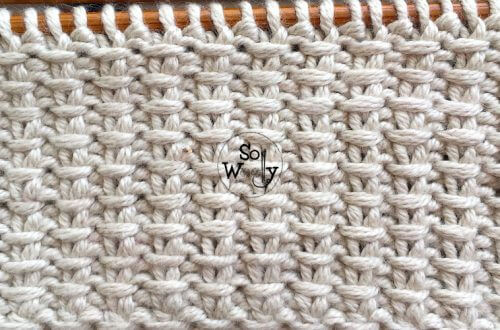
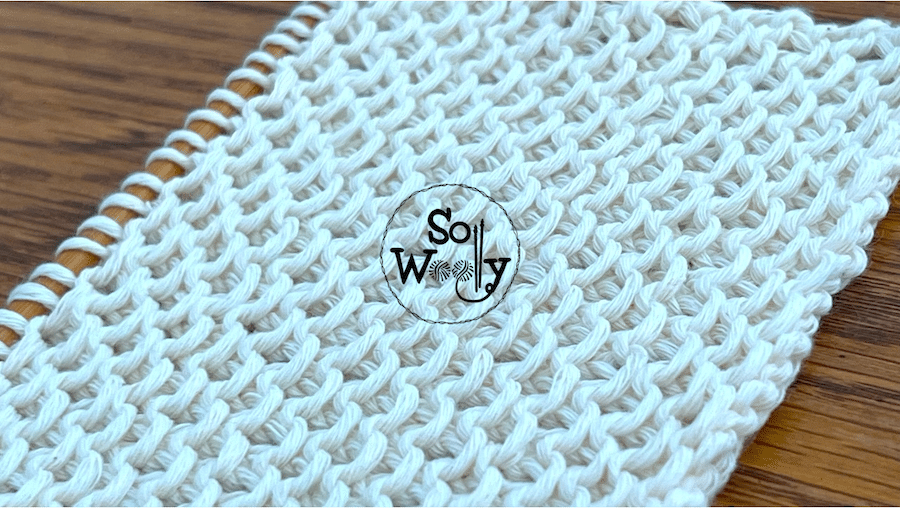
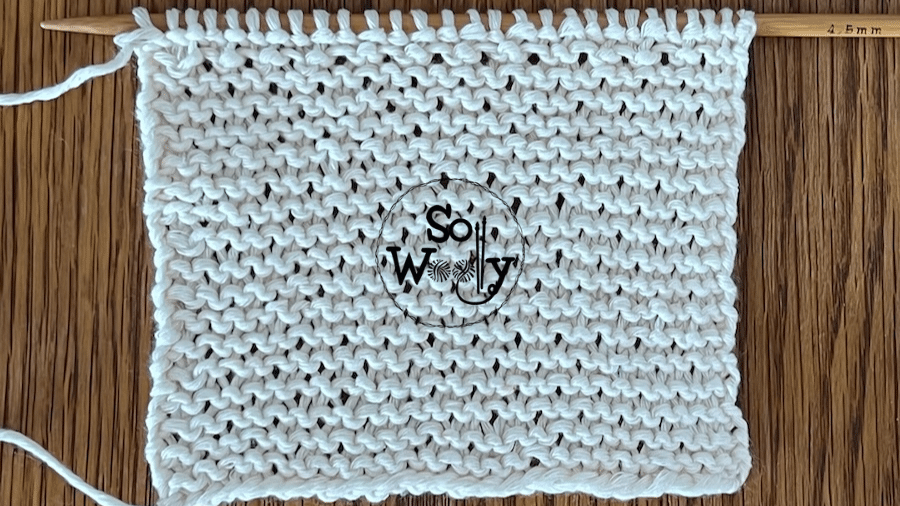
Although both sides aren’t identical, the so-called “wrong side” of the work is similar to the Garter stitch, so I’d say it’s a reversible stitch.
This is why the Slip Stitch Honeycomb pattern, will look great on a scarf or an infinite cowl too.
Nevertheless, think of adding a nice edge in case you’d like to knit a piece that should stay flat.
Honestly, I’ve made two swatches using different fibers, and they don’t curl.
But as knitters, we have to take into account that the fabric doesn’t behave the same when knitting slip stitches.
They create additional tension, and as a result, the sides could look crooked.
Having said that, it’s knitting time… YAY!
Grab your needles and some yarn, and let’s get to it!
Abbreviations
CO: Cast on
st: Stitch
RS: Right side of the work
K: Knit
wyif: With yarn in front
sl1pw: Slip one stitch purlwise (pass it onto the right-hand needle as if to purl)
P: Purl
wyib: With yarn in back
BO: Bind off
WS: Wrong side of the work
This swatch was knitted with a cotton yarn blend, smooth, durable, DK weight, nº 3, or light #ad
Using US 7 (4.5 mm) bamboo needles. This set comes with a case and contains the most used sizes #ad
“As an Amazon Associate, I earn from qualifying purchases.”
Notes Before Starting
First, the odd rows form the right side of the work.
Second, the selvage (edge) stitches (the first and the last) will be knitted on every odd row, and purled on every even row.
Slip Stitch Honeycomb Knitting Pattern
CO an even number of stitches.
1º row (RS):K1 (edge), wyif *sl1pw, P1*. Repeat from * to *, to last st, wyib, K1 (edge)
2º and 4º rows:P across
3º row:K1 (edge), wyif *P1, sl1pw*. Repeat from * to *, to last st, wyib, K1 (edge).
These four rows create the pattern. Repeat them until the desired length is reached.
When finished, BO purlwise, after row 3 (WS).
This is the other side of the work:
Enjoy the step-by-step video tutorial explained in both, English and Continental styles:
Slip Stitch Honeycomb Knitting Pattern
Thank you for watching, and don’t forget to share the love <3
A big hug, and happy knitting,
Carolina – So Woolly
PS: Are you a fan of the horizontal knitting patterns? Take a look at this beauty 😉