Learn How to Knit Quickly – Lesson 5: Stockinette stitch
After the Garter stitch the Stockinette or Stocking stitch is the most basic and commonly used around the world.
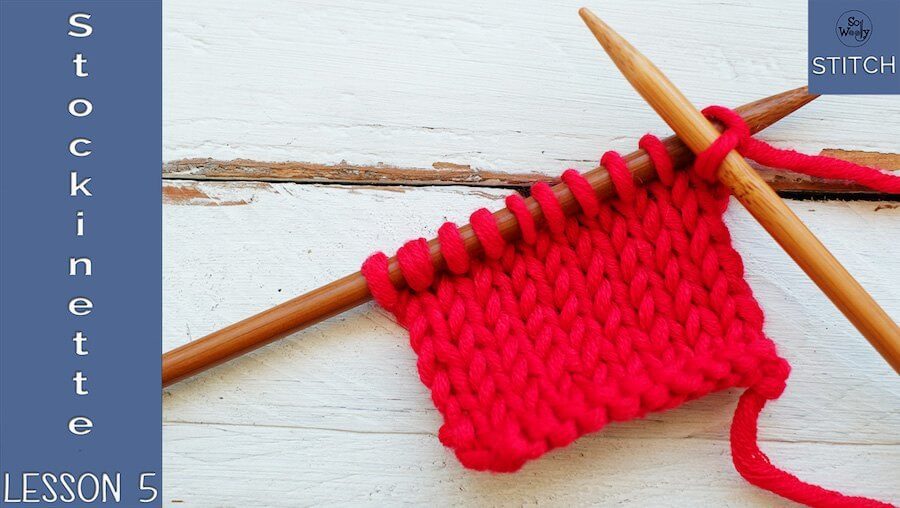
It has a very smooth texture on one side [what we call the right side of the work (RS) for most knitting patterns or the knit side], easy to identify because it looks like columns of “V’s”, each one next to the other:
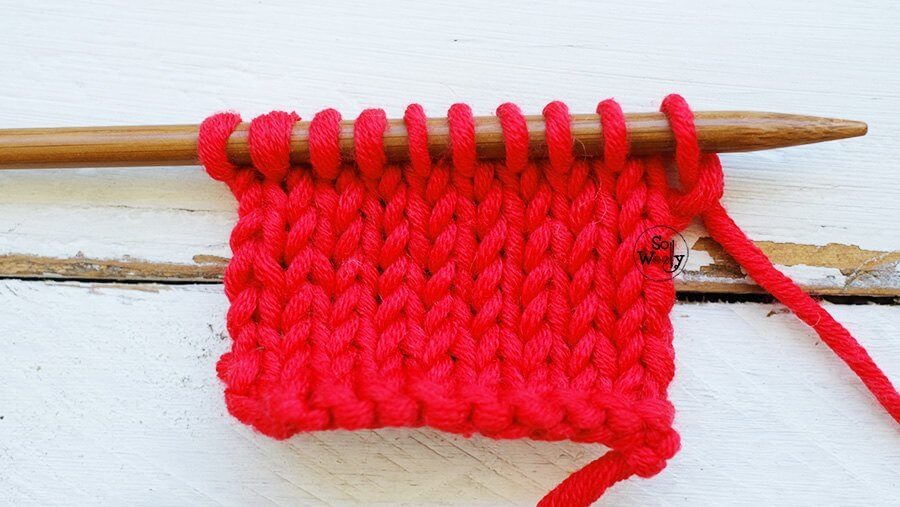
The other side, the wrong side of the work (WS), is really bumpy (the purl side):
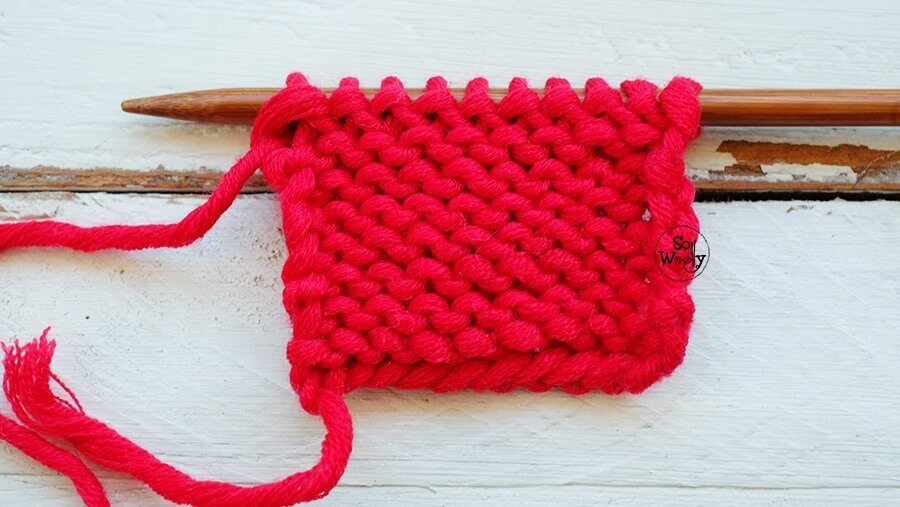
To knit the Stockinette / Stocking stitch we need to alternate one row of knitting and one row of purling. The texture appears when you knit every stitch on one side of the work, and purl every stitch in the other side. For example, every odd row will be knitted; every even row will be purled.
It tends to curl at the bottom and on the sides, and that is perfectly normal (you are not doing anything wrong). We will see how to avoid the curling in future lessons of this course.
When the pattern calls for a “Reverse Stockinette” stitch, it simply means that the right side of the work for this specific design, will be the purl side.
How to knit the Stockinette / Stocking stitch
It doesn’t matter the number of stitches you cast on nor the method used.
1º Row (RS): Knit every stitch
2º Row: (WS) Purl every stitch
And that’s it! You can practice a bit while enjoying the video tutorial:
Lesson 5: How to knit the Stockinette / Stocking stitch
#happyknitting
Carolina
PS: If you love wooden knitting needles as I do (they don’t get cold nor hot and the sound is pretty calming), I’m going to recommend you the ones I use:
And if you like chunky and soft 100% Merino wool, this is one my favourites (what I use to make the videos and pictures of this Course):


