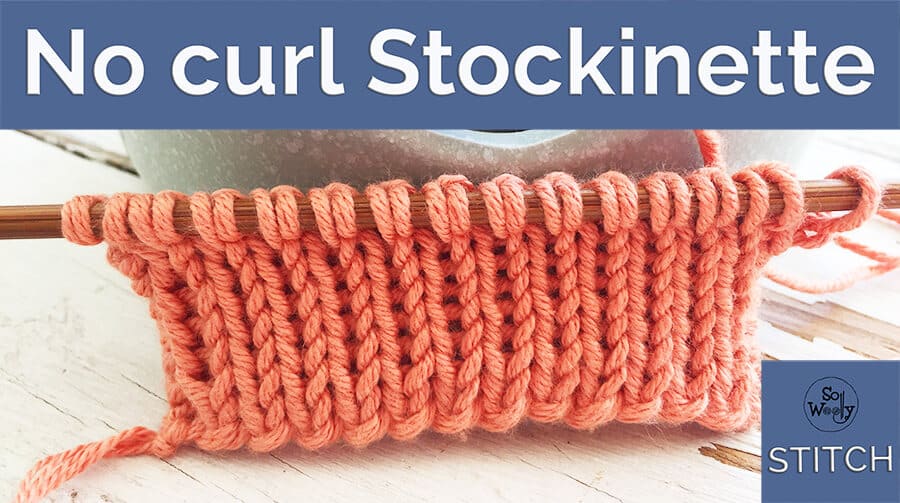
A new no-curl version of the Stockinette stitch
In this tutorial, you’ll learn how to knit a no curl version of the Stockinette (Stocking stitch)… YAY!
Why? Although we love it, sometimes we tend to avoid it: The curling is a no-no factor for many knitters…
I came up with his version after many long nights of trial and error. So now if you want to knit a scarf, a blanket, without using a second stitch for the edges, this version of the Stockinette stitch is simply perfect!
It creates a thick fabric, almost cushioned… It’s also slightly stretchy and, for certain garments, I’d use it instead of the ribbing stitch.
On the other hand, it’s a two-row repeat knitting pattern, which involves knitting, purling and slipping stitches. Altogether now, easy peasy lemon squeezy 😉
Ok, grab your needles, and let’s get started!
Abbreviations
CO: Cast on
RS: Right side of the work
st: Stitch
K: knit
P: Purl
wyif: With yarn in front
sl1pw: Slip one stitch purl wise (pass the stitch onto the right-hand needle as if to purl).
wyib: With yarn in back
BO: Bind off
WS: Wrong side of the work
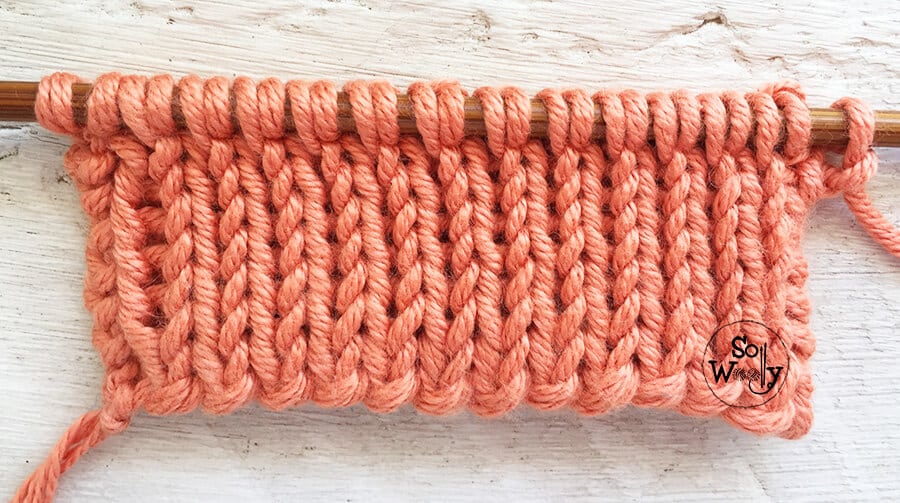
A new no curl version of the Stockinette stitch knitting pattern
CO an odd number of stitches.
1º row: P2, *wyif sl1pw, P1*. Repeat from * to *, to last st, ending with P1.
2º row (RS): K1, *wyif sl1pw, wyib K1*. Repeat from * to * to the end of the row.
These two rows form the pattern. Repeat them until the desired length is reached.
When finished, there are two options: Either BO knitwise after a row 1 (RS), or BO purl wise after a row 2 (WS).
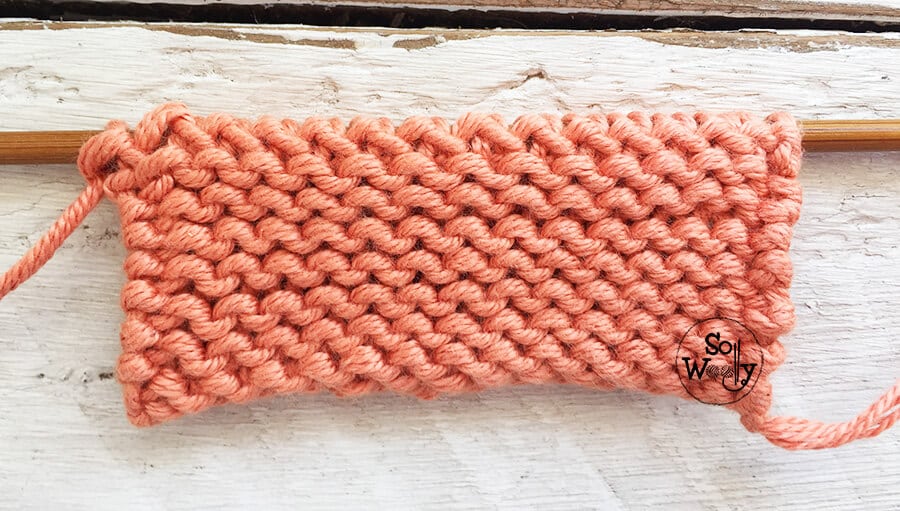
This is the wrong side of the work (personally, I wouldn’t call it “wrong side”, because I think it looks nice too, so to me, this is a reversible stitch pattern:
Enjoy the video tutorial:
No-Curl Version of the Stockinette Stitch
Thank you for watching, and happy knitting 🙂
xoxo
Carolina – So Woolly
PS: Last time I shared a technique to embellish the ribbings for hats, mittens, sweaters. If you’d like to use this stitch as a ribbing, you could use The Estonian Braid too!


