How to Knit the Reversible ZigZag Stitch (super cozy+ Video)
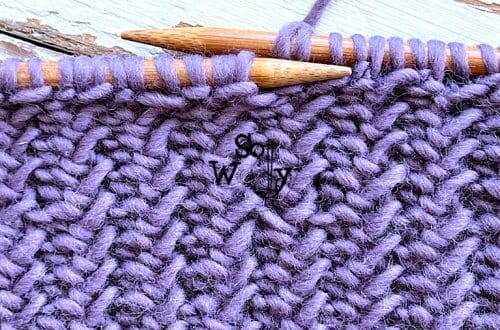
Today, you’ll learn how to knit the Reversible ZigZag Stitch, a knit + purl pattern, identical on both sides.
I think it’s the perfect pattern for a scarf or a blanket, for several reasons:
First, it doesn’t curl (it lays flat no matter what).
Second, there’s no need to add another stitch for the edges (I’ll show you what to do to create pretty chains on each side).
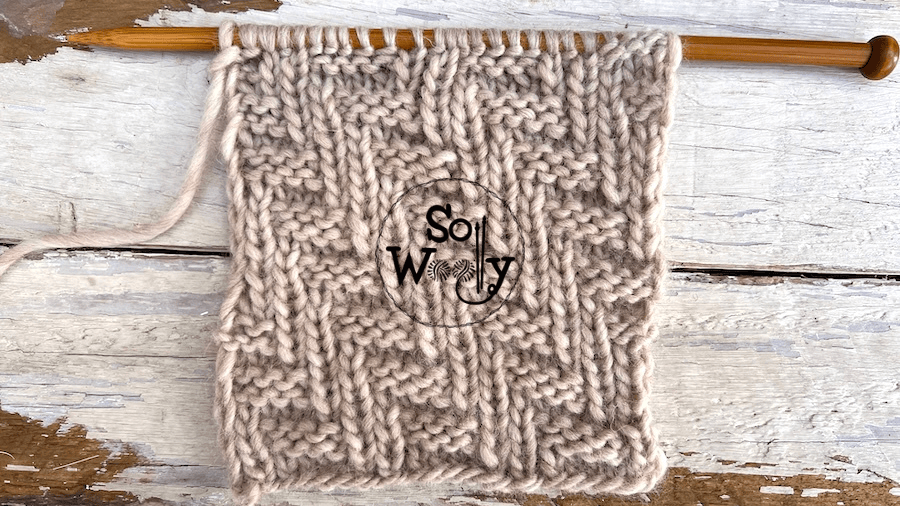
Third, both sides look the same, which makes the Reversible ZigZag Stitch ideal for an infinite cowl too.
In fact, I’d use it for a sweater or cardigan.
It has a lovely texture to it, it’s cozy and chunky, great for Autumn-Winter garments 🙂
Last but not least, it’s fun to make.
If you can knit and purl, you can do it (there are no increases, decreases, slipped stitches, etc.).
Ok, it’s time to knit.
Grab your needles, and your favorite fiber, and let’s knit an amazing swatch!
I made this swatch using 100% Peruvian wool yarn (bulky or number 5) #ad
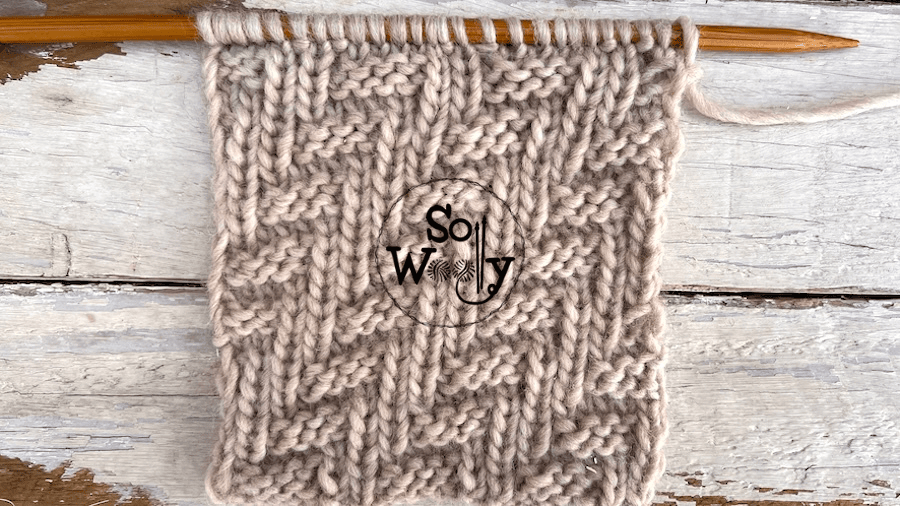
And 7 mm needles (US 10.5 – 11 approx.). I love this set because it includes the most used sizes (18 pairs) #ad
Abbreviations
CO: Cast on
st: Stitch
RS: Right side of the work
K: Knit
P: Purl
BO: Bind off
WS: Wrong side of the work
Notes Before Starting
The odd rows form the right side of the work.
For the chained edges, always slip the first stitch knitwise, and purl the last one (including the even rows).
How to Knit the Reversible ZigZag Stitch Pattern
CO multiples of 8 st + 2 (edge/selvage st). For example: 8 * 3 = 24 + 2 = 26 st.
Row 1 (RS): sl1kw (edge), *K1, P1, K1, P5*. Rep from * to *, to last st, P1 (edge)
Row 2 and every even row: Work each st as it presents
Row 3: sl1kw (edge), *K1, P1, K5, P1*. Rep from * to *, to last st, P1 (edge)
Row 5: sl1kw (edge), *K1, P5, K1, P1*. Rep from * to *, to last st, P1 (edge)
Row 7: sl1kw (edge), *K5, P1, K1, P1*. Rep from * to *, to last st, P1 (edge)
Row 9: sl1kw (edge), *P4, K1, P1, K1, P1*. Rep from * to *, to last st, P1 (edge)
Row 11: sl1kw (edge), *K3, P1, K1, P1, K2*. Rep from * to *, to last st, P1 (edge)
Row 13: sl1kw (edge), *P2, K1, P1, K1, P3*. Rep from * to *, to last st, P1 (edge)
Row 15: sl1kw (edge), *K1, P1, K1, P1, K4* . Rep from * to *, to last st, P1 (edge)
Row 16: As row 2.
These sixteen rows create the pattern. Repeat them until the desired length is reached.
When finished, BO working each st as it presents after row 15 (WS).
This is the other side of the work:
Enjoy the video tutorial:
Reversible ZigZag Stitch Knitting Pattern
Thank you for watching, and don’t forget to share the L<3VE!
Hugs, and happy knitting 🙂
Carolina – So Woolly
PS: Looking for more Reversible ZigZag stitch patterns? Click here!


