How to knit the Picket Fences stitch pattern
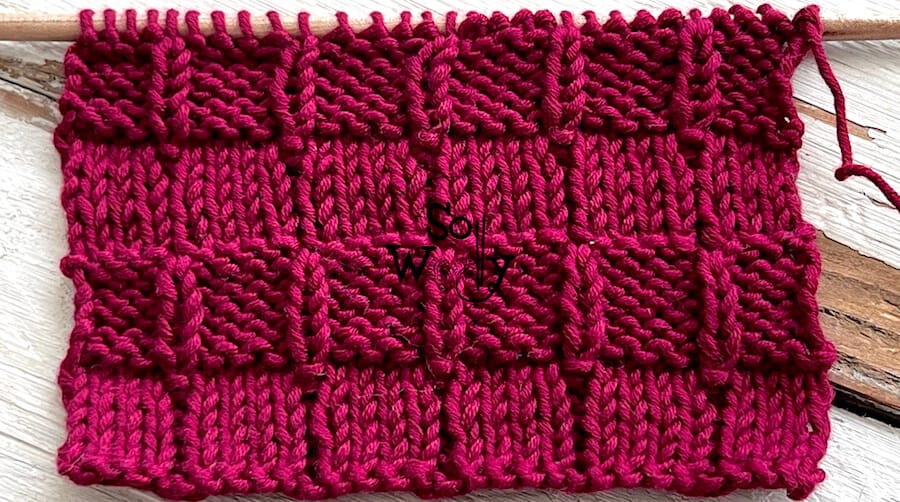
Today, you’ll learn how to knit the Picket Fences stitch, another member of the checkerboard patterns, similar to the Embossed Blocks stitch that we practiced last year.
The Picket Fences stitch is perfect for beginners; there is no need to slip, increase or decrease stitches.
Actually, the only techniques required are knit + purl… easy-peasy!
In addition, it lays flat, the edges don’t curl or bend, due to the frequency of knit and purl stitches per row.
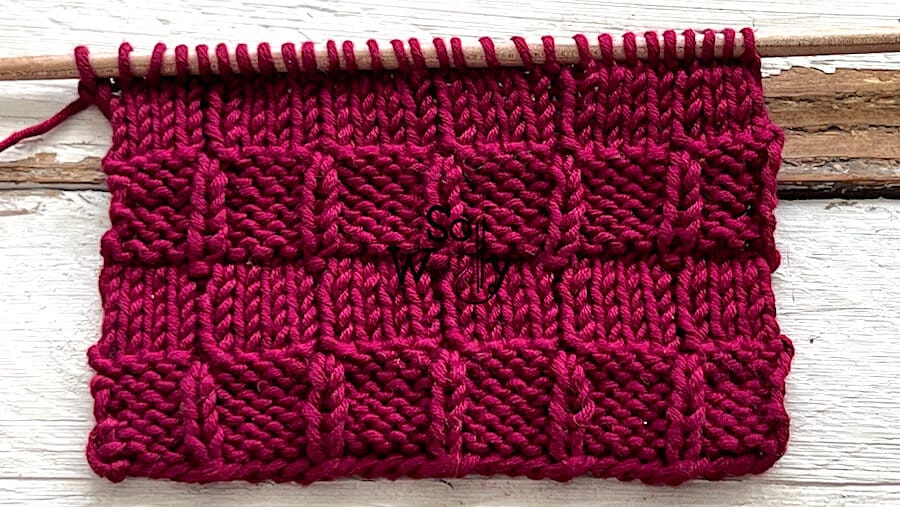
Another advantage is that it’s a reversible knitting pattern; it’s identical on both sides 😉
So, if you’re thinking of knitting a scarf, or a blanket, for example, this one is for you.
Although, I have to say that if I’m knitting a blankie, I’d add a nice edge on each side of the piece; the combination of stitches makes it looks prettier.
Okey-dokey, no more chatting!
Grab your needles, and some yarn, and let’s get busy 🙂
Abbreviations
CO: Cast on
st: Stitch
P: Purl
K: Knit
RS: Right side of the work
WS: Wrong side of the work
BO: Bind off
N.B.:
Firstly, the odd rows create the RS of the work.
Secondly, there are no selvage stitches; if you like to have them, please add one stitch on each side of the row.
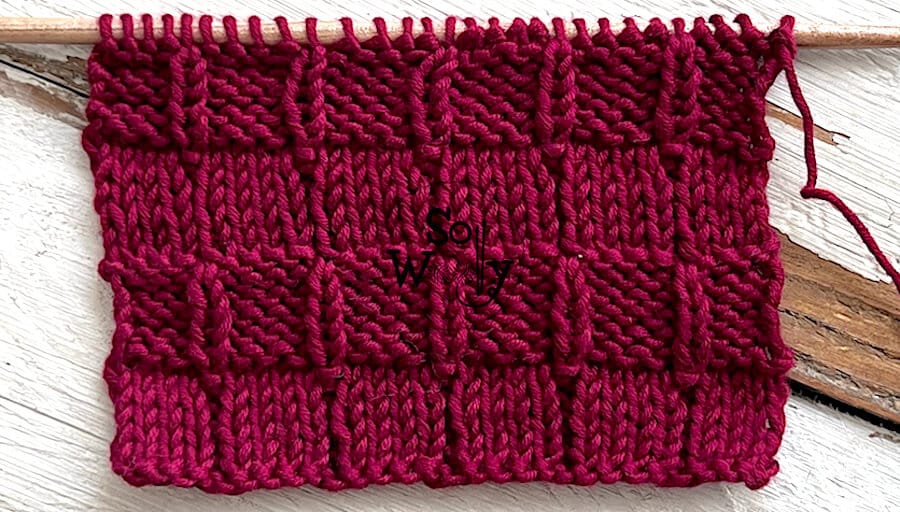
How to knit the Picket Fences stitch pattern
CO multiples of 5 + 4; i.e.: 5 * 3 = 15 + 4 = 19 st.
Rows 1, 3, and 5 (RS): *K4, P1*. Repeat from * to *, to last 4 st, K4
Rows 2, 4, 6, 8, 10, and 12: Work each st as it presents (knit the knits, and purl the purls)
Rows 7, 9, and 11: *P4, K1*. Repeat from * to *, to last 4 st, P4
These twelve rows create the pattern. Repeat them until the desired length is reached.
When finished BO working each st as it presents after a row 11 (WS).
This is the other side of the work:
Enjoy the video tutorial:
Picket Fences stitch knitting pattern
Hugs, and happy knitting 🙂
xoxo
Carolina – So Woolly
PS: If you love to knit blankets, take a look at this book! #ad
“As an Amazon Associate, I earn income from qualifying purchases that meet the applicable requirements.”


