How to Knit the Unique Estonian Braid: 1-row technique
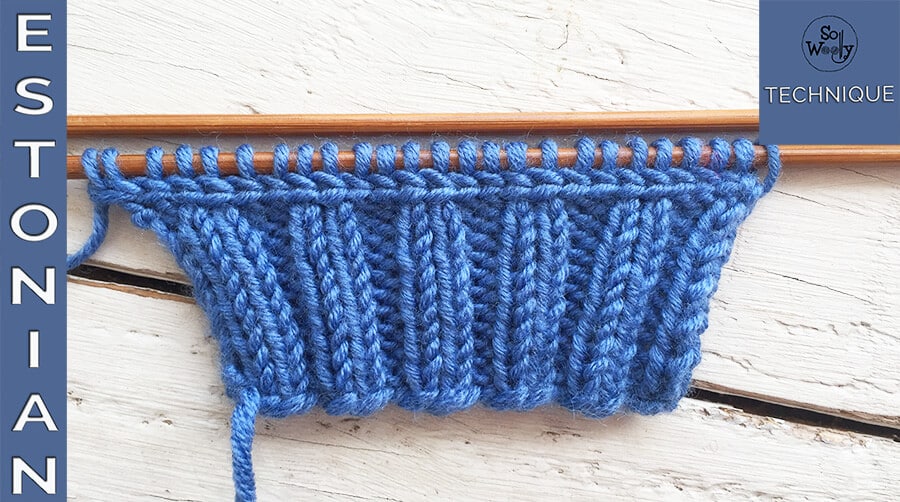
In today’s tutorial, you’ll learn how to knit the Estonian Braid, step by step.
Why?
Because sometimes we get bored of knitting the same 1 x 1 or 2 x 2 classic ribbing, don’t we?
Actually, it’s an ancient technique used in Eastern Europe to embellish the ribbing of hats, sweaters, and gloves/mittens.
It works as an eye-catching border between the rib and the rest of the garment.
Besides, the Estonian Braid is easy to make, it’s a one row technique that involves knitting and slipping stitches…
… And it definitely gives a more stylish look to your knitting work 🙂
Furthermore, if you want to highlight it even more, do it twice, or in a different color!
Let’s get started!
This swatch was made out of 100% Merino Superwash wool yarn #ad
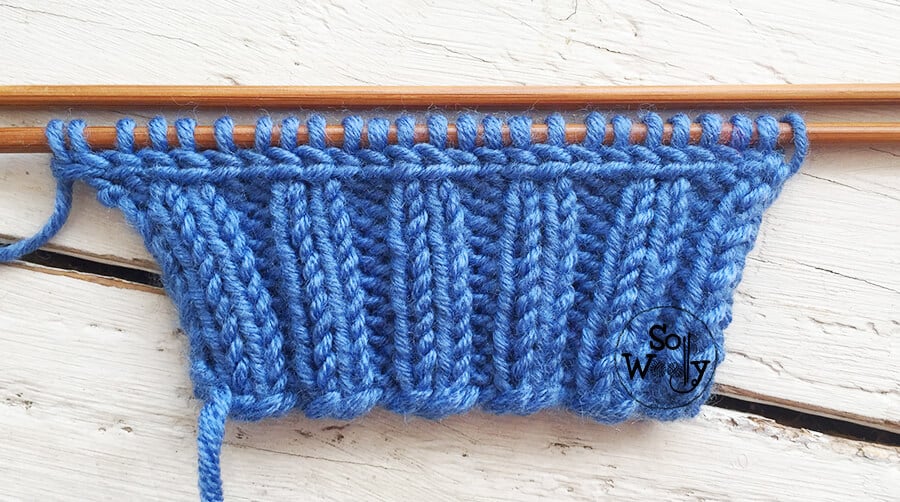
How to knit the Estonian Braid step by step
We need to work over an even number of stitches, facing the right side of the piece, once you finished the ribbing.
Insert the right-hand needle between the first and the second stitch, knit one, knit the first stitch, and then place that stitch back onto the left-hand needle.
*Knit the second stitch (from right to left) through the back loop, don’t drop it, and knit the first stitch as usual.
Drop those two stitches off the left-hand needle, and pass the first stitch from the right-hand needle, back onto the left-hand needle*.
Repeat from * to *, to the end.
Now we purl the next row, and make another Estonian Braid on the following row, or start knitting the main stitch chosen for your project.
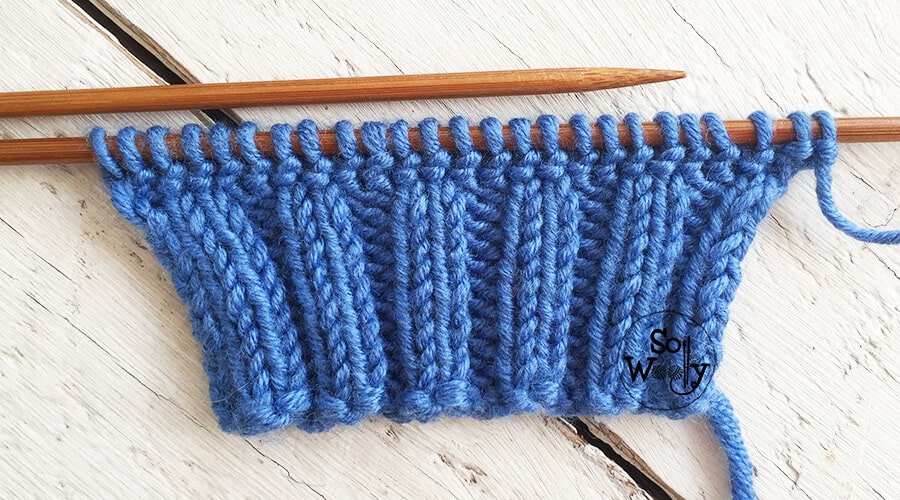
This is the wrong side of the work:
Enjoy the video tutorial:
How to Knit the Unique Estonian Braid
I hope you like it, and don’t forget to share your swatch on Instagram and tag or mention me (@sowoolly), so we can all see it!
Hugs and happy knitting 🙂
xoxo
Carolina – So Woolly
PS: Looking for innovative rib stitch patterns? Please take a look:


