How to knit an I-Cord Edge 3 ways!
Today, you’ll learn how to knit an i-cord (not an Apple product… yet ; ) edge 3 ways…
It’s a super easy yet useful technique, which will give a special finish to our projects.
The good news is that an i-cord edge has different uses:
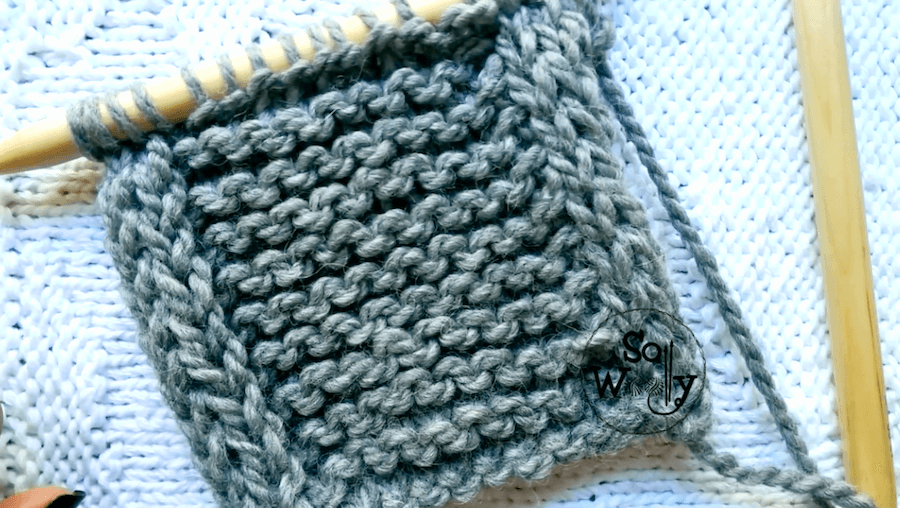
Firstly, it’s especially helpful, when knitting a piece in Stockinette stitch, to prevent it from curling (in the video tutorial I’m showing how to do it for both, at the beginning and at the end of a row).
Secondly, it’s perfect for the front pieces of a cardigan; it will give more firmness to the button band.
Thirdly, the i-cord edge is also suitable when knitting a more sporty jacket, and we want to add a zipper!
In addition, the I-Cord Edge could be worked no matter the pattern you’ve chosen as your main stitch.
It’s formed using three stitches; these are extra stitches, and you need to add them to your stitch count.
Therefore, if you need the i-cord on each side of a blanket, for example, add six stitches.
Without further ado, grab your needles and a bit of yarn, and let’s get busy 🙂
Abbreviations
St. Stitch
RS: Right side of the work
P: Purl
wyib: With yarn in back
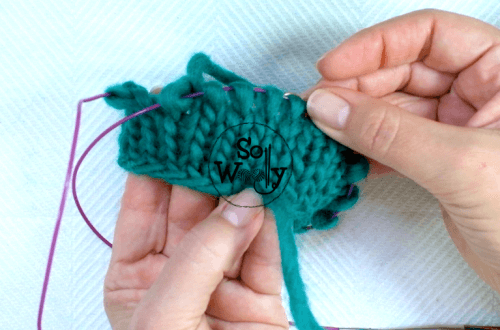
sl3pw: Slip three stitches purlwise (pass three stitches as if to purl onto the right-hand needle)
BO: Bind off
And thick wooden knitting needles (US 17 – 12 mm) #ad
If you use smaller needles and finer yarn, the i-cord will be more firm 😉
How to knit an I-Cord Edge at the beginning of the row
This will work when knitting the right front of a cardigan, for example.
1º and every odd row (RS): Give a firm to the working yarn, and sl3pw wyib. Give another firm tug, and work in pattern to the end of the row.
2º and every even row: Work in pattern to end, to last 3 st, P3.
These two rows create the i-cord edge. Repeat them, until the desired length is reached.
When finished, BO the first 3 stitches knitwise (RS), and follow your pattern for the rest.
How to knit an I-Cord Edge at the end of the row
This will work when knitting the left front of a cardigan, for example.
1º and every odd row (RS): Work in pattern to last 3 st, ending the row with sl3pw wyib.
2º and every even row: P3, work in pattern to end.
These two rows create the i-cord edge. Repeat them, until the desired length is reached.
When finished, BO as your pattern calls for, and BO the last 3 stitches knitwise (RS).
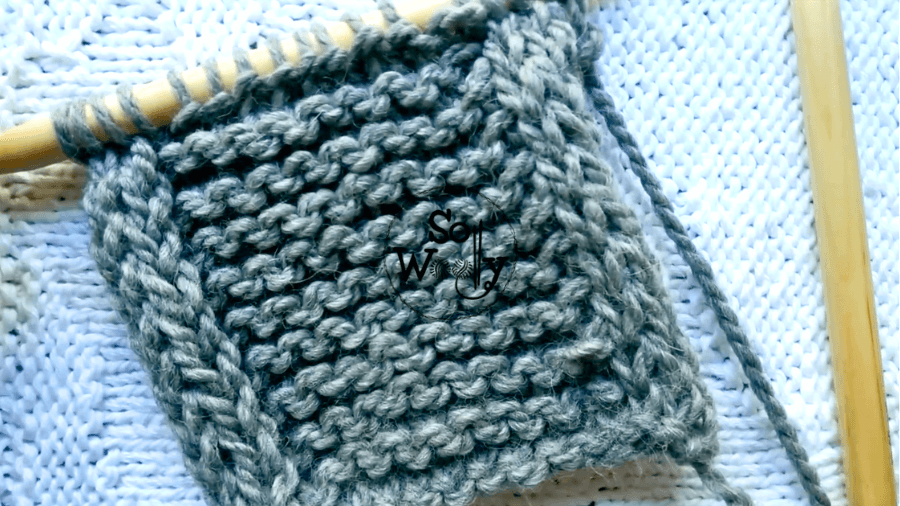
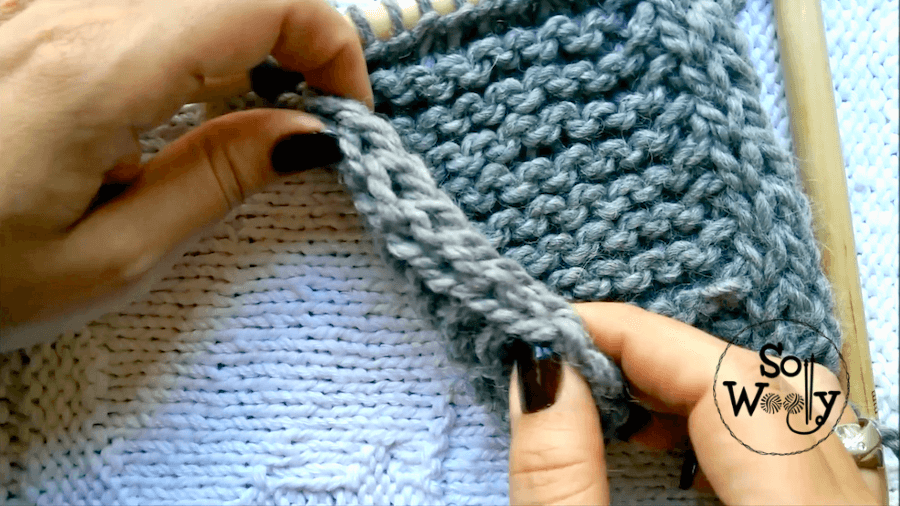
I-Cord Edge on each side
This will work when knitting a blanket, a scarf, etc.
1º and every odd row (RS): Give a firm tug to the working yarn and sl3pw wyib. Give another firm tug, and work in pattern to the last 3 st, ending the row with sl3pw wyib.
2º and every even row: P3, work in pattern to last 3 st, P3.
These two rows create the i-cord edge. Repeat them, until the desired length is reached.
When finished, BO the first 3 st knitwise, continue as your pattern calls for, and BO the last 3 stitches knitwise (RS).
Enjoy the video tutorial:
How to knit an I-Cord Edge
Thank you for watching 🙂
Hugs, and happy knitting,
Carolina – So Woolly
PS: Would you like to learn another knitting technique for pretty edges? Click here!
“As an Amazon Associate, I earn from qualifying purchases.”