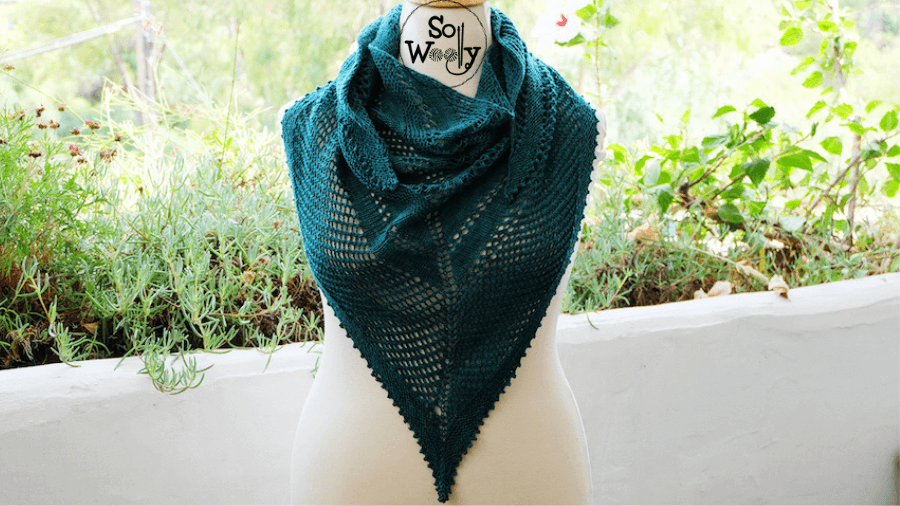
How to knit an Easy Lace Triangular Shawl
In this post, you’ll learn how to knit an Easy Lace Triangular Shawl, a project for expert knitters as well as for beginners, because it is easy to do, fun to knit, and pretty flexible.
✨ Prefer a printable version and no ads?
👉 You can download the pattern here →
Actually, you can make it with the fiber you have on hand, for Winter or for Summer, the size you want, you can combine the sections to your liking, and even combine colors.
The one you see in the pictures was made with an Extra Fine hand-painted Merino wool because I wanted a lacy light shawl #ad
However, you can make it using thicker wool, cotton, Alpaca, a cotton-wool blend, or wool and silk-blend…even in Cashmere, if you want something super luxurious 😉
Finally, it’s a top-down construction: We’ll start at the neckline or base of the triangle, and work to the vertex or peak.
Materials
125 gr (525 m) of wool nº 2 (Fine, Light DK, Sport)
Extra-long US 6 / 4 mm knitting needles #ad
2 markers
Scissors, tapestry needle, measurement tape
Measurements of the finished Shawl (after blocking)
63 3/4 in / 162 cm width
28 1/4 in / 72 cm height
Abbreviations
CO: Cast on
st: stitch
K: Knit
P: Purl
M: Marker
PM: Place marker
SM: Slip marker
yo: Yarn over
double yo: Take the yarn twice around the needle
k2tog: Knit two stitches together
ssk: Slip slip knit (slip the first stitch as if to knit, slip the second, put both back onto the left-hand needle, and knit them together).
Easy Lace Triangular Shawl knitting pattern
This shawl is worked on 5 sections of 10 rows each, and they’ll be repeated as follows:
Setup Section
CO 3 st
1º row: K1, PM, K1, PM, K1.
Now, increase 1 st before the first marker and after the 2º marker, as follows:
2º row: K1, yo, SM, K1, SM, yo, K1.
1º Section: Stockinette stitch (10 rows):
From now on, the increases (yo) will be made on each odd row (RS):
1 st after the first, 1 st before first M, 1 st after second M, and 1 st before the last (4 st in total).
Work 10 rows in Stockinette stitch:
1º row (RS): K1, yo, K to M, yo, SM, K1 (central st), SM, yo, K to last st, yo, K1.
2º row: P across (including the yo).
Repeat these two rows 4 more times, until 10 rows in Stockinette stitch are completed.
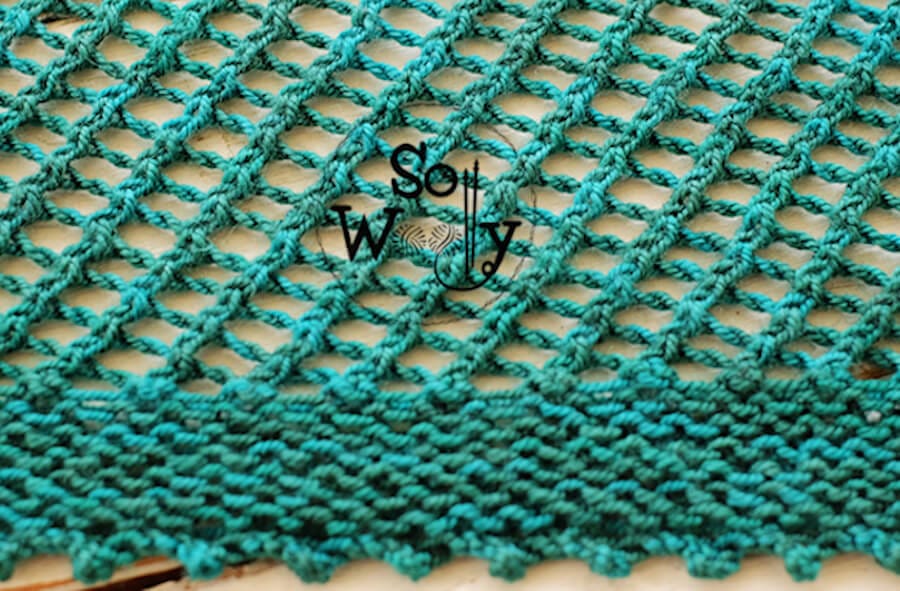
2º Section: Lace stitch (10 rows):
1º row: K1, yo, K1 *yo, k2tog* (repeat from * to *, to 1º M), yo, SM, K1 (central st), SM, yo, *ssk, yo* (repeat from * to *, to last 2 st), K1, yo, K1.
2º row: P across (including the yo).
Repeat these two rows 4 more times, until 10 rows in Lace stitch are completed.
3º Section: Stockinette stitch (10 rows):
Repeat section 1.
4º Section: Elongated stitch (10 rows):
1º row: K1, yo, K1 *double yo, k2tog* (repeat from * to *, to 1º M), yo, SM, K1 (central st), SM, yo, *ssk, double yo* (repeat from * to *, to last 2 st), K1, yo, K1.
2º row: P across (including the yo).
Repeat these two rows 4 more times, until 10 rows in Elongated stitch are completed.
5º Section: Garter stitch (10 rows):
1º row: K1, yo, K to M, yo, SM, K1 (central st), SM, yo, K to last st, yo, K1.
2º rows: P across, but please note that the central st (between M) is a purl st (to keep the central “v” column).
Repeat these two rows 4 more times, until 10 rows in Garter stitch are completed.
These five sections will be repeated 2 times more, so you have 3 of them in total.
Finishing the Easy Lace Triangular Shawl
After the sections, I worked the Stockinette st section once more, and 30 rows (7 in / 18 cm) in the Lace stitch, and then, 3 cm (1.5 in) in Garter stitch.
Then facing the WS, BO using the picot edge technique (please watch the video tutorial).
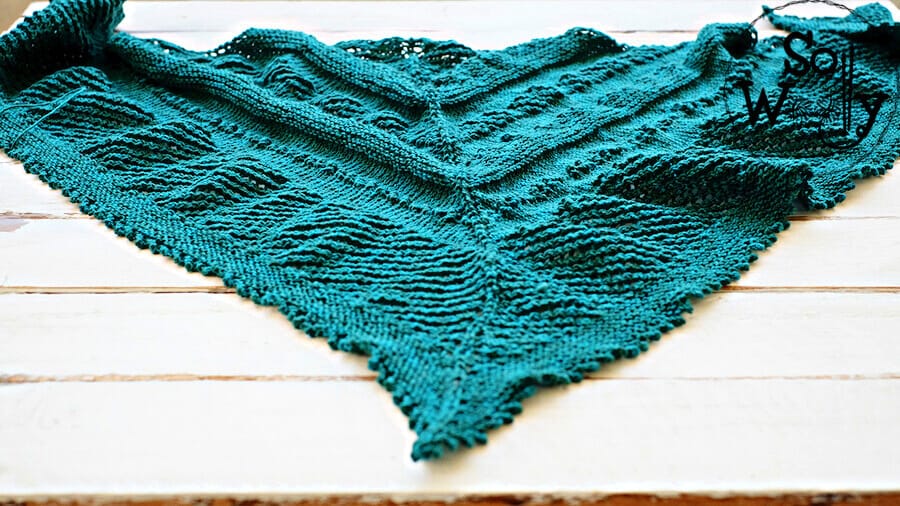
So, this is the Lace Shawl before blocking:
How to block the Lace Shawl
To obtain crispy stitches and a piece of plain fabric, soak the shawl for some minutes (without shaking). Simply wait until the fibers absorb the humidity.
Now, squeeze it gently, removing the excess water.
Place the shawl over a towel, using the palm of your hand to flatten it, and give it the right shape (for a better result, use some pins to fix it on the blocking board).
And let it air dry (avoid sun exposure).
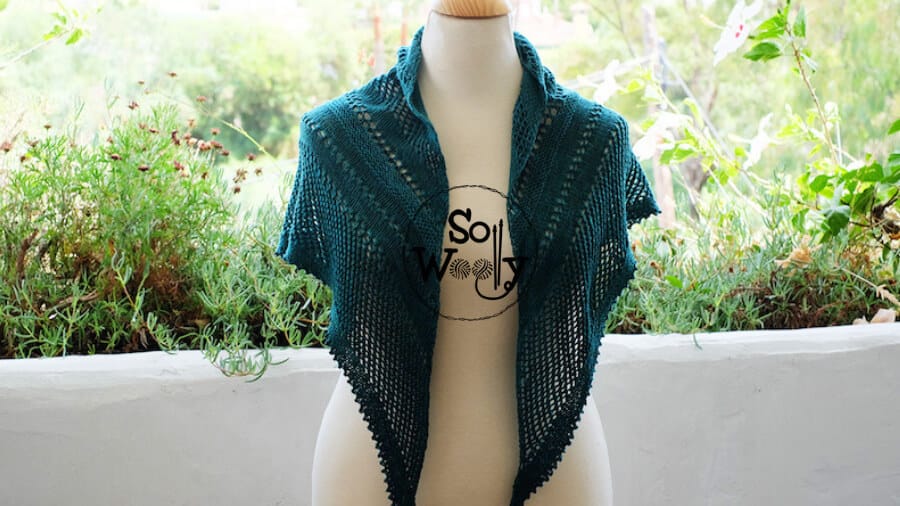
And this is the Lace Shawl after blocking:
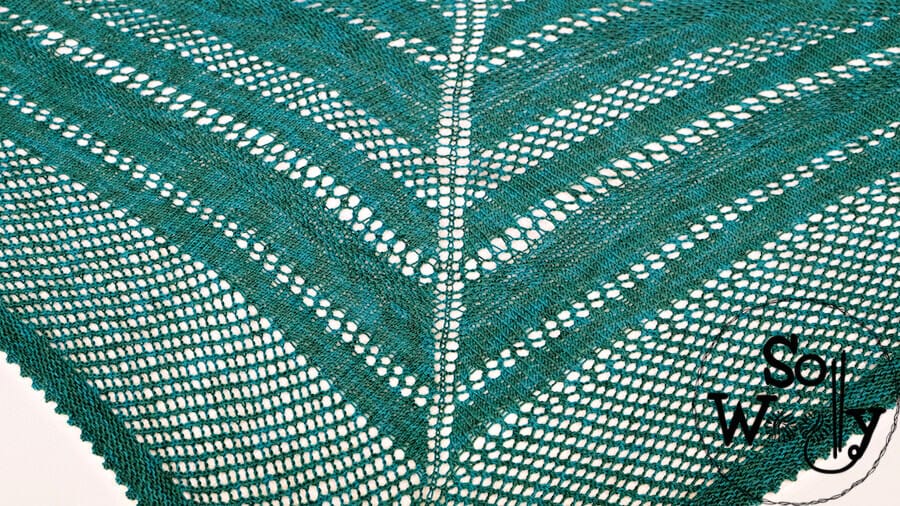
Et voilà! Your Lace Triangular Shawl is ready!
Enjoy the video tutorial:
How to knit an Easy Lace Triangular Shawl
I hope you like it!
And don’t forget that sharing is caring 🙂
xoxo
Carolina – So Woolly
PS: Do you prefer a rectangular piece? No worries, take a look!
“As an Amazon Associate, I earn from qualifying purchases.”