How to knit the Horseshoe Cable stitch pattern
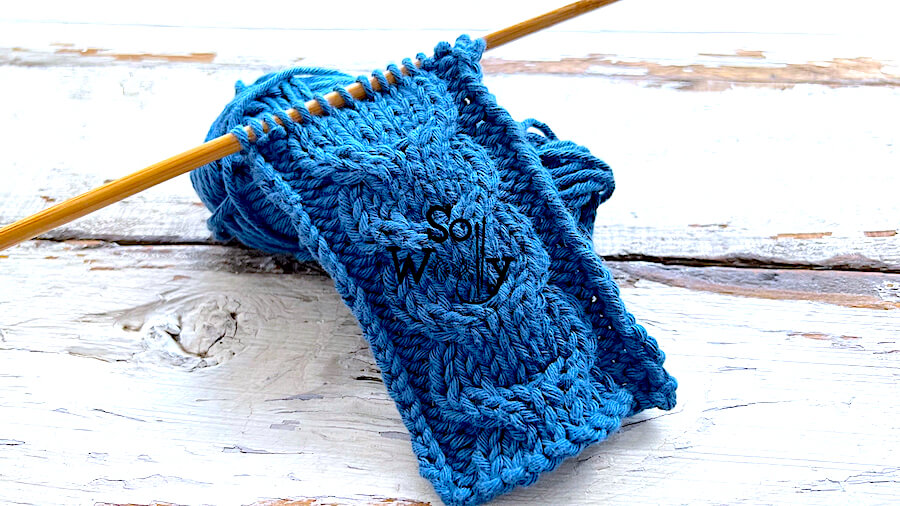
Today, I’m sharing how to knit the Horseshoe Cable stitch, one of the cable patterns I love!
It’s a six-row repeat pattern, and the right cross and left cross will repeat every 5 rows, so we’ll have a lot of plain knit + purl rows (“resting rows”).
In order to cross stitches, we’ll need a “cable needle”; a third needle of the same size, or a stitch holder.
However, you can also use a Bobby pin or hairpin, if you don’t have any of the above (use whatever short and easy-to-handle pin/ needle/holder/husband that works for you).
Finally, don’t forget to take a look at my Tips for Cable Knitting 😉
So, without further ado, let’s cable together 🙂
Abbreviations
CO: Cast on
st: Stitch
RS: Right side
K: Knit
P: Purl
Cable 2 back: Slip 2 stitches onto the cable needle, and hold at back of work. K2 from the left-hand needle, and K2 from the cable needle
Cable 2 front: Slip 2 stitches onto the cable needle, and hold at front of work. K2 from the left-hand needle, and K2 from the cable needle
BO: Bind off
N.B.:
The odd rows form the RS of the work.
The selvage st (the first and the last) will be knitted on every odd row and purled on every even row.
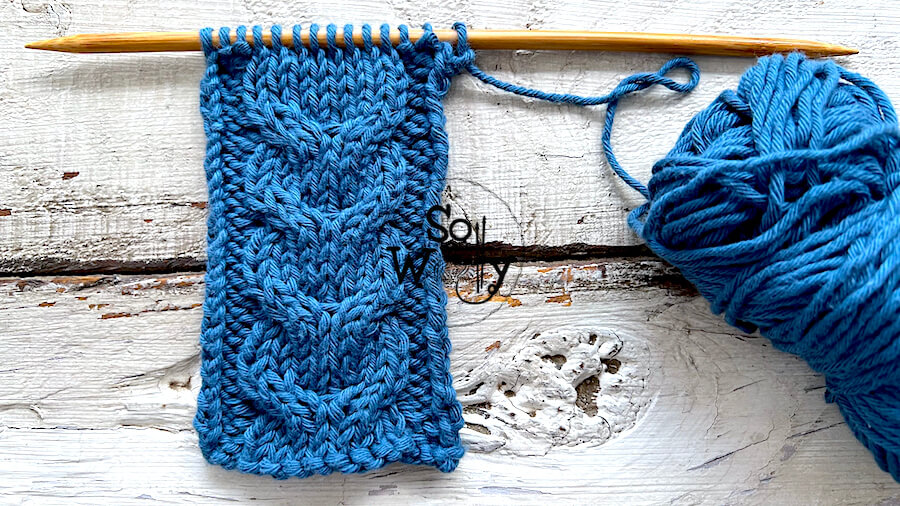
How to knit the Horseshoe Cable stitch
CO multiples of 12 + 2 (selvage st); i.e.: 12 * 2 = 24 + 2 = 26 st.
1º and 3º rows (RS): K1 (edge), *P2, K8, P2*. Repeat from * to *, to last st, K1 (edge)
2º, 4º, and 6º rows: P1 (edge), *K2, P8, K2*. Repeat from * to *, to last st, P1 (edge)
5º row: K1 (edge), *P2, Cable 2 back, Cable 2 front, P2*. Repeat from * to *, to last st, K1 (edge)
These six rows create the pattern. Repeat them until the desired length is reached.
When finished, BO after row 1, working each st as it presents (RS).
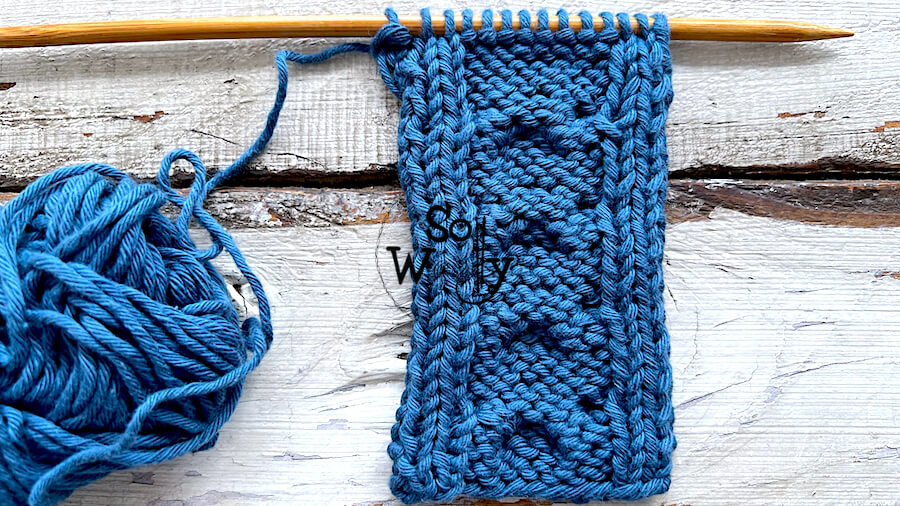
This is the other side of the work:
Enjoy the video tutorial:
How to knit the Horseshoe Cable stitch pattern
Thank you for watching!
Hugs, and happy knitting 🙂
Carolina – So Woolly
“As an Amazon Associate, I earn from qualifying purchases.”


